A while ago, YouTube started recommending some ASMR videos of leatherwork being done. Handbags, laptop cases, wallets etc. It was fascinating to watch a leather hide being turned in to wonderful objects through the skills, craftsmanship and obscure processes. Over time I began to recognise the individual steps involved and wondered how hard can this craft be? Luckily, YouTube also has a lot of tutorial videos too, and before I knew it, I ordered a starter kit of tools & fittings and some sample leather.
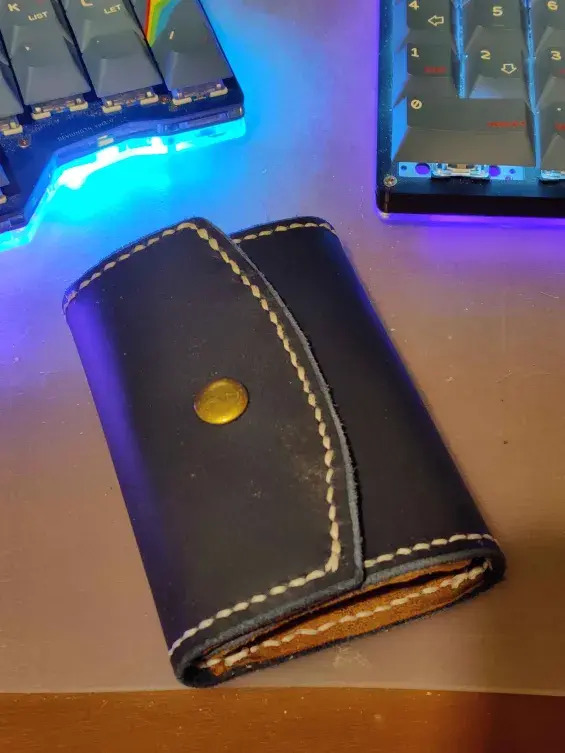
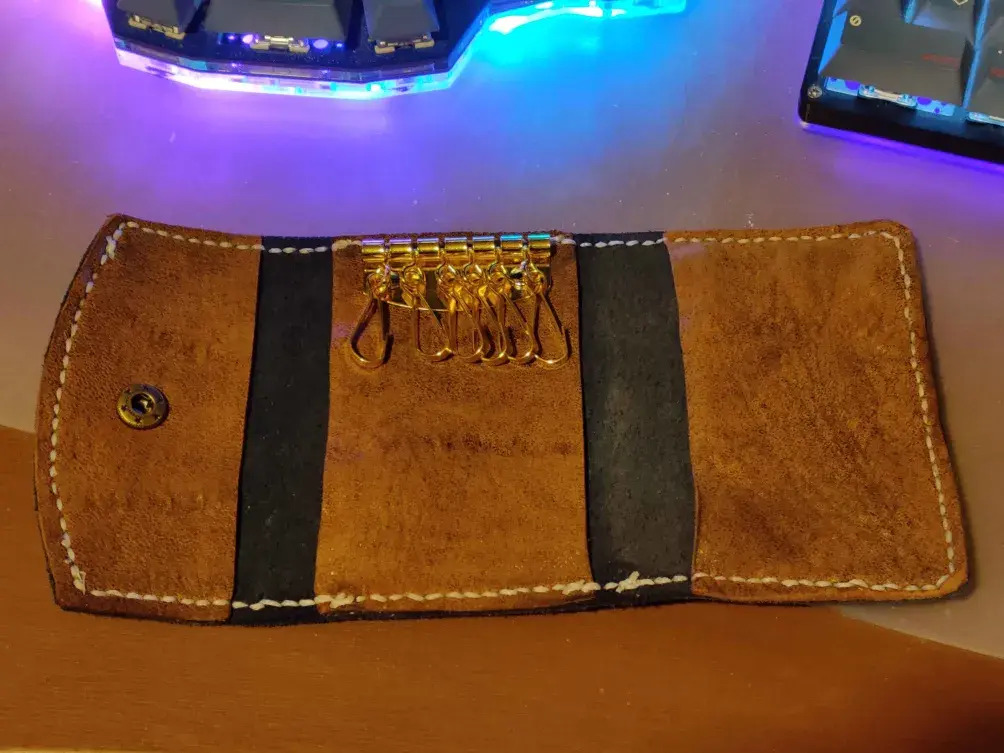
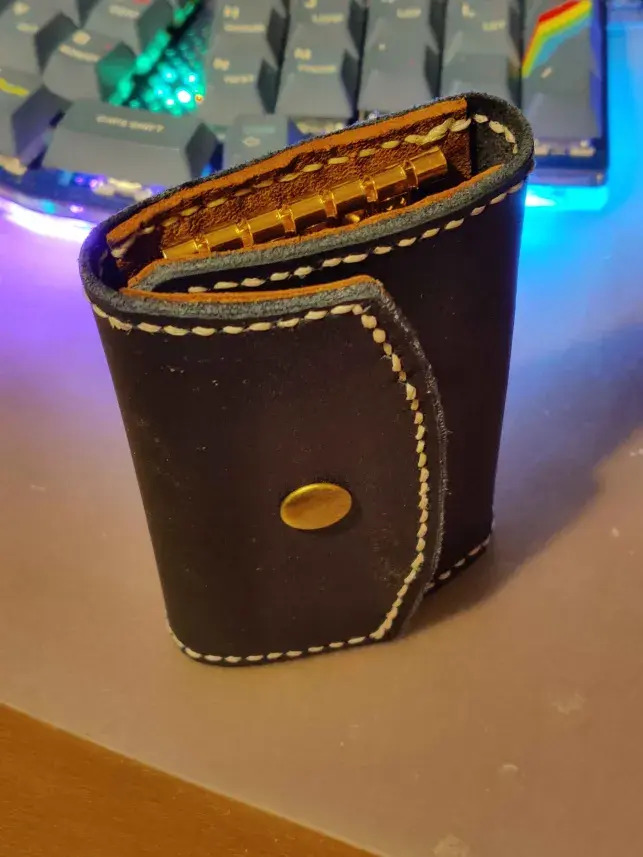
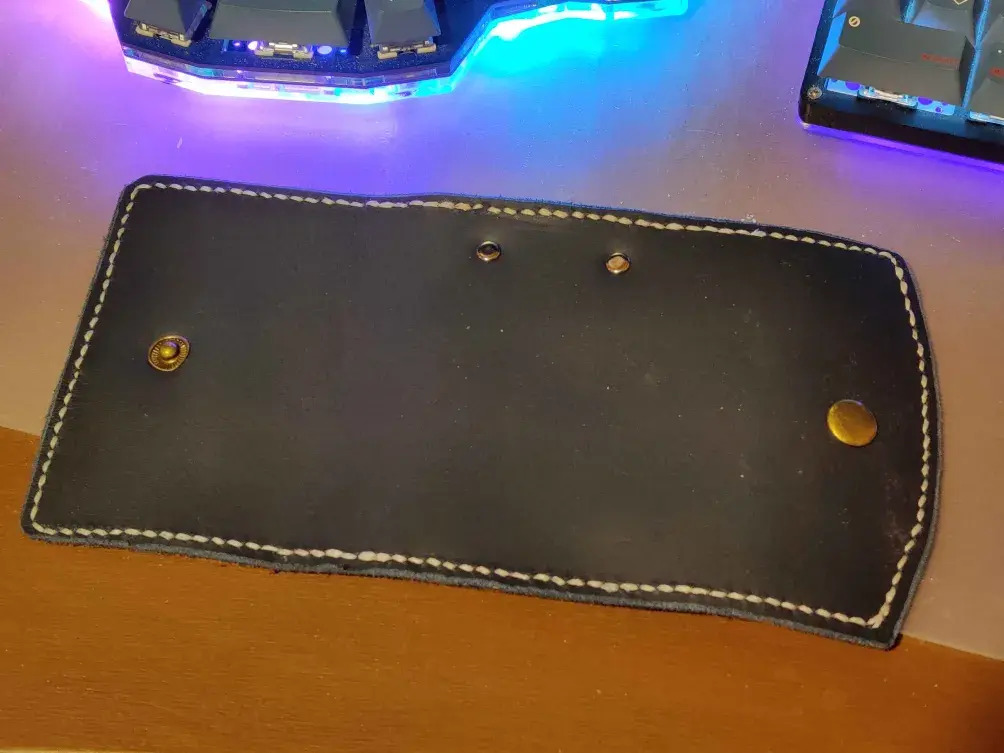
I was given a bag of leather offcuts by a friend which was great to get to grips with the various tools. The starter kit included a key wallet thingy. Whilst I’m not a fan of these kind of key rings, it was a good starter project. Templates are easy to find online, and over a few evenings, I put the key wallet above together. It is far from perfect. Mistakes were made. Things could and should be done better. But a lot was learned. And I was very happy for the results from my first leather project.
Next up was creating a leather sheath for the skiving knife. It was a pretty simple design and works much better than the flimsy cardboard it came packaged with.
Recently I have had need for a small pocket notebook. The Travellers Notebooks are great and the Passport size refill is perfect. However, a notebook is no use without a pen, so some kind of leather cover with integrated pen loop was in order.

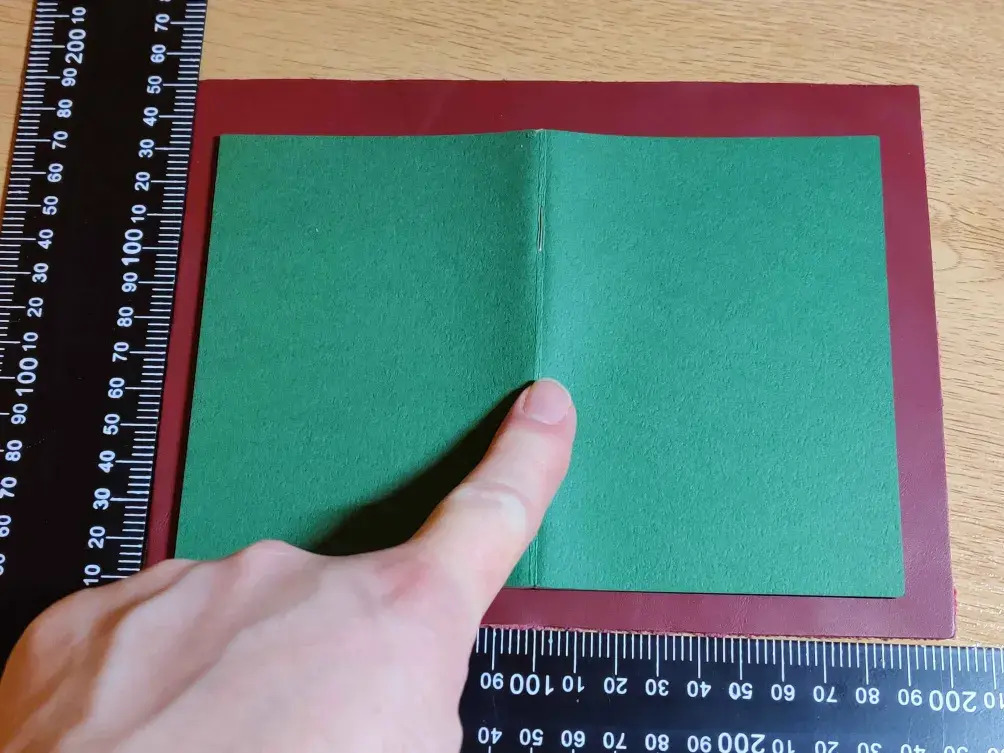
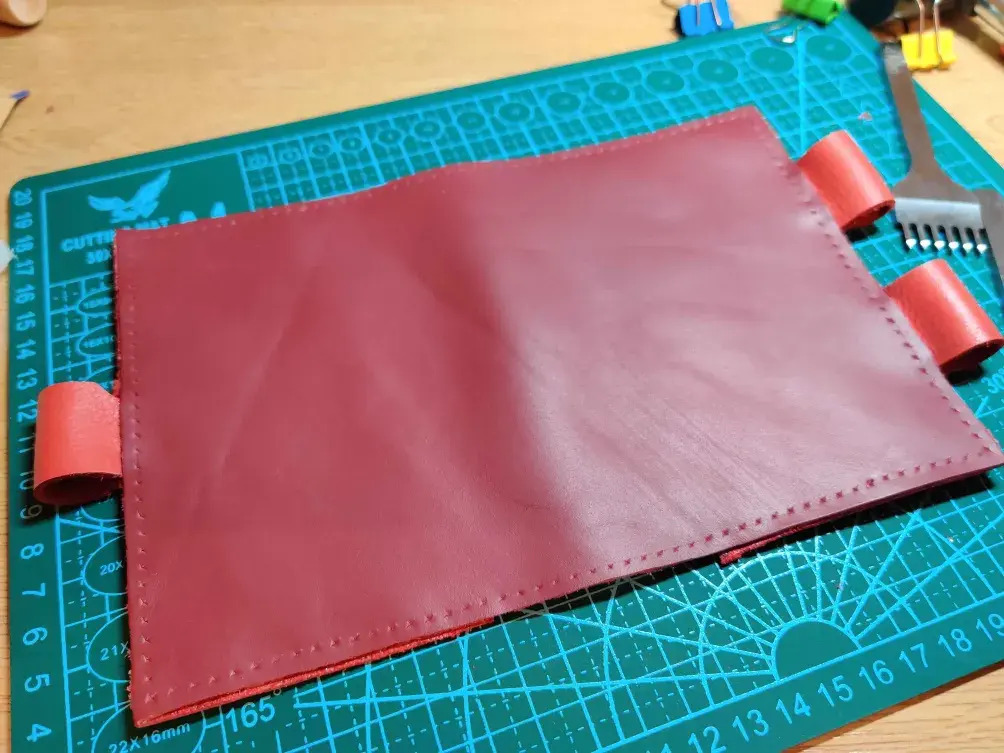
The sample leather pieces were 200 x 150mm and all different colours. At that size, they are plenty tall enough, but only just wide enough to fit around the passport size Travellers Notebook refill. Certainly there was no room to trim the edges, but the top and bottom could be a few mm shorter. The burgundy piece felt nice and looked great. There wasn’t another piece to match for the inside, but going for the red made for a stylish fashion choice.
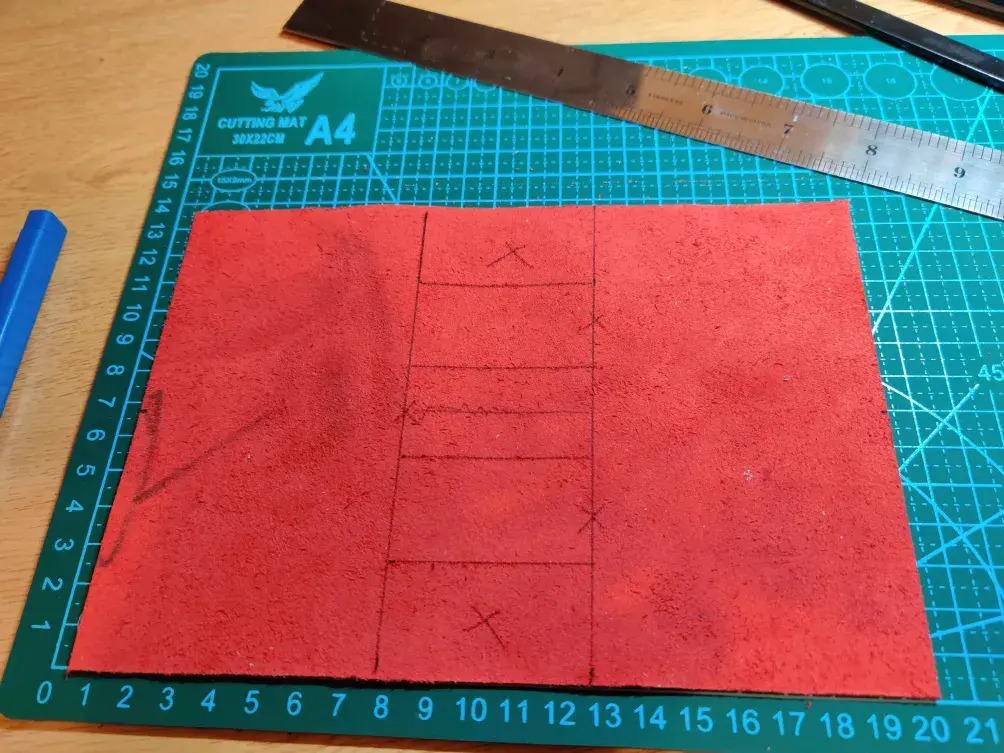
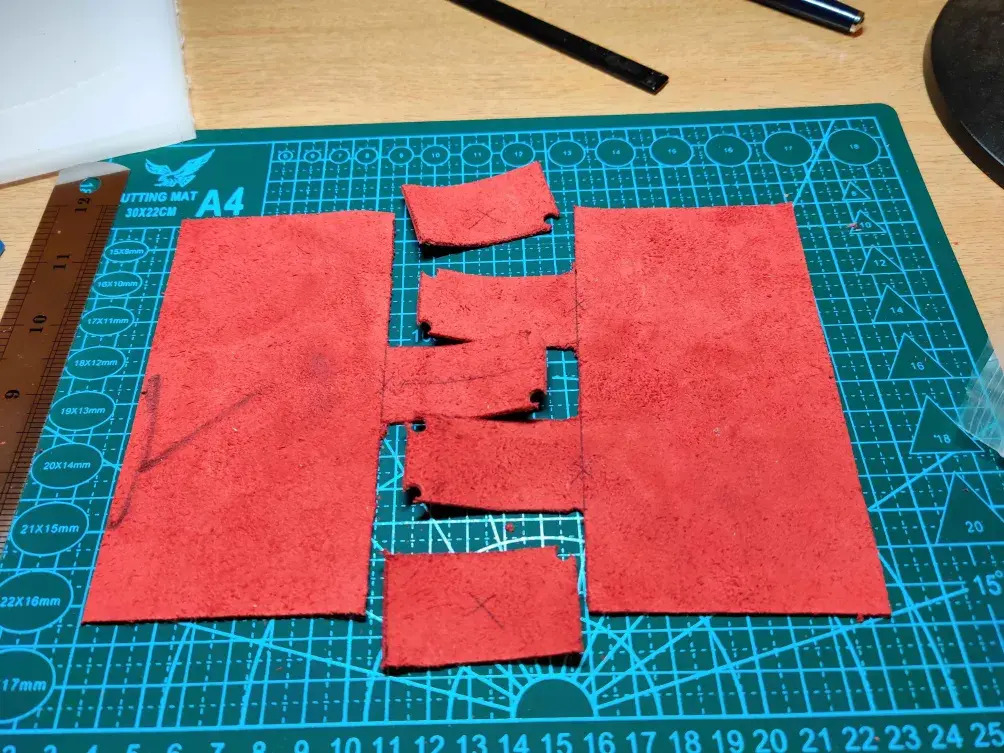
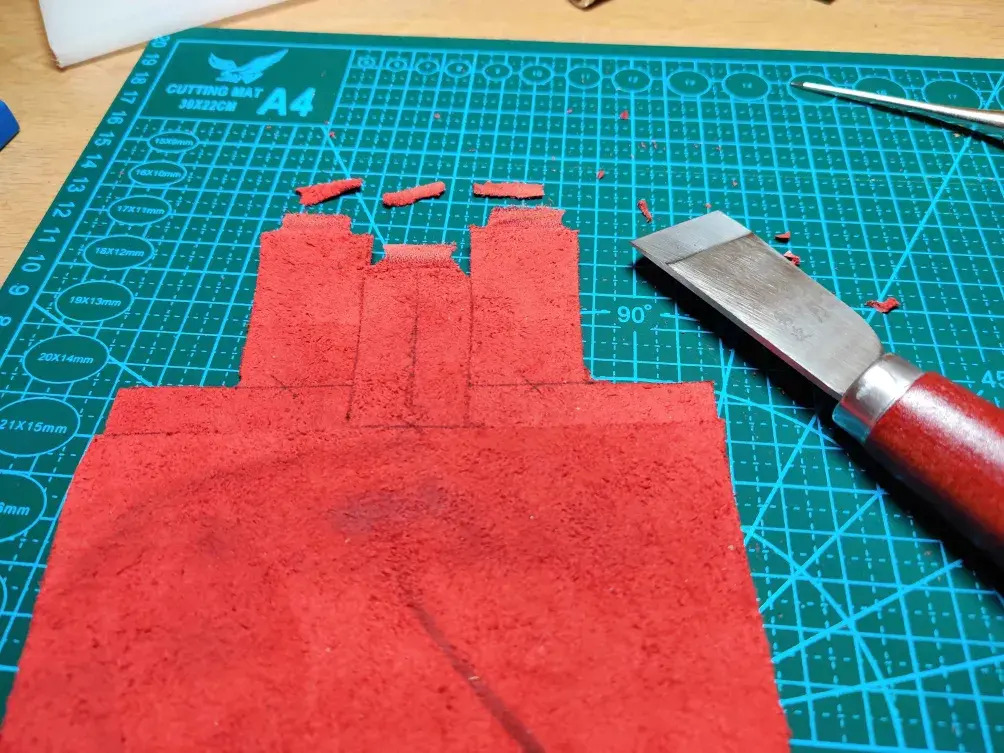
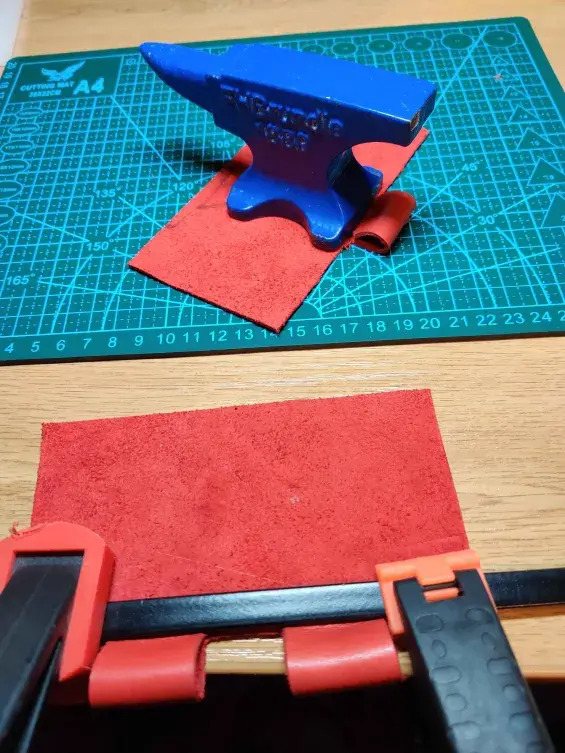
I had an idea of having two pen loops on one side of the cover that went over a pen loop on the other side, so that when a pen was inside it kept the notebook cover closed. Due to the tight sizing on the width I realised that I would need to use the middle section of the red piece for the loops and cut an alternating pattern between them. A 50mm wide strip was marked down the middle, and lines drawn. A circular die was used to cut the corners before the main lines were cut. To reduce the thickness where the pen loops joined back in to the panels the ends were skived down. Contact adhesive was allowed to set before using weights or clamps to create the loops.
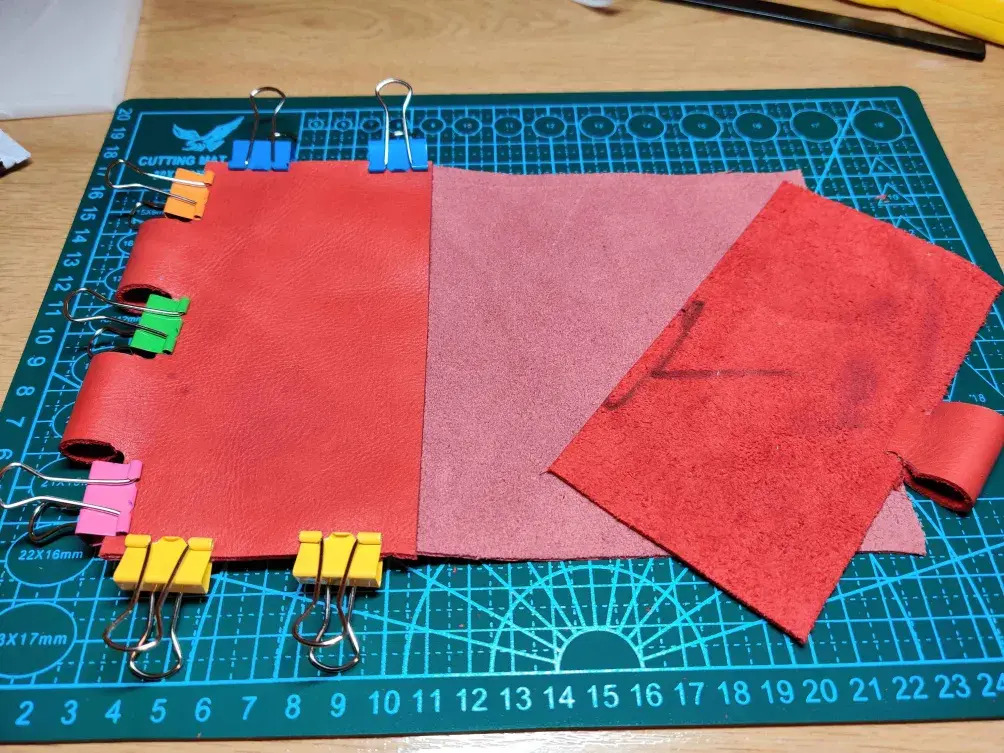

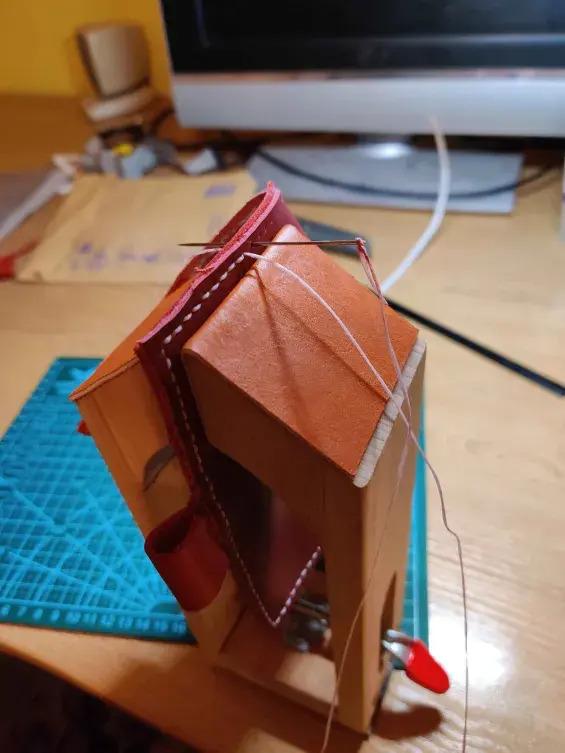
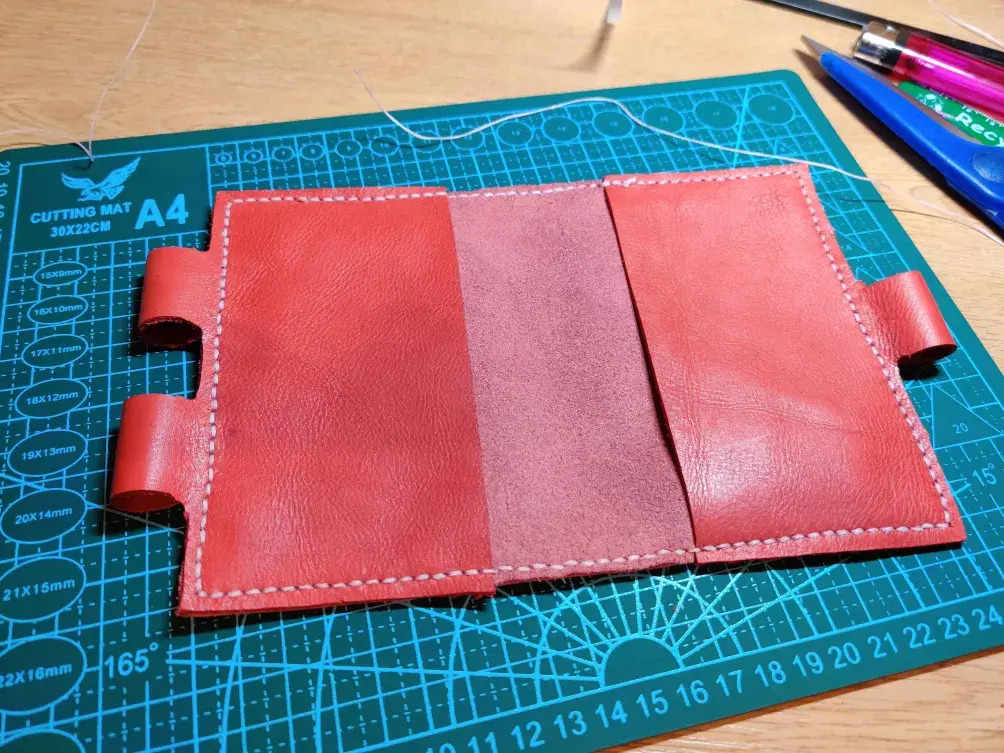
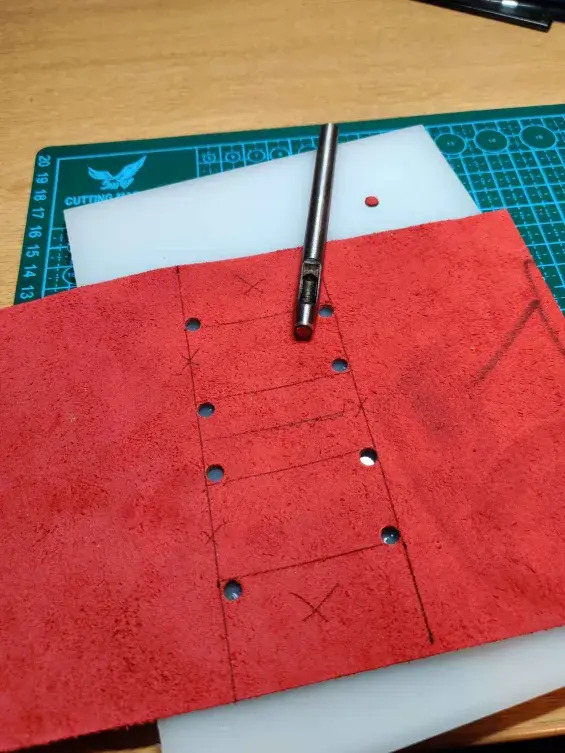
The inner panels were glued around the edge to the outer cover. Because of the limited width there was only room for a thin bead of contact adhesive, but this was enough to hold it well. A line was marked on the outer cover about 4mm from the edge, and holes punched using a set of pricking irons. A cheap stitching pony made the saddle stitch so much easier than with the key wallet, but it still took almost 2 hours to sew together.
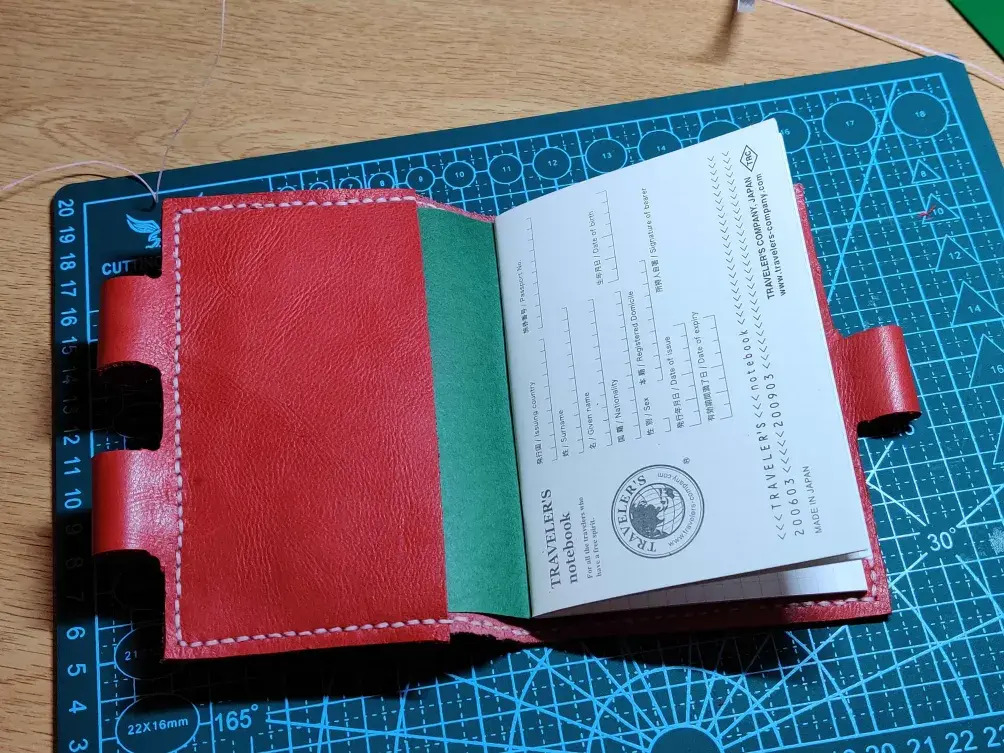

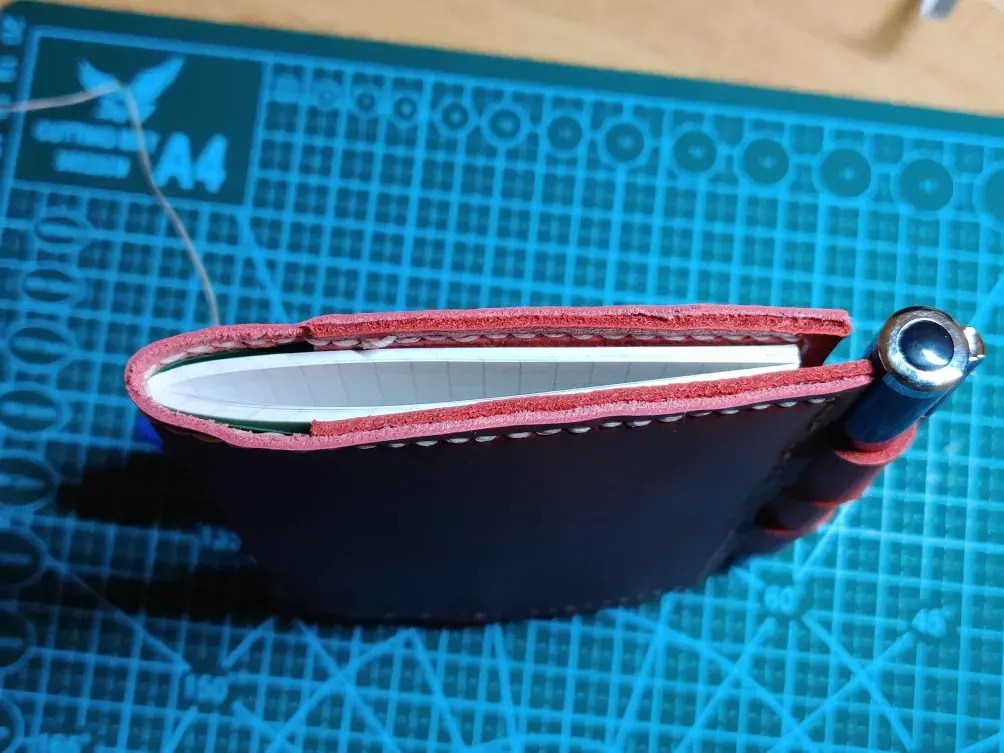
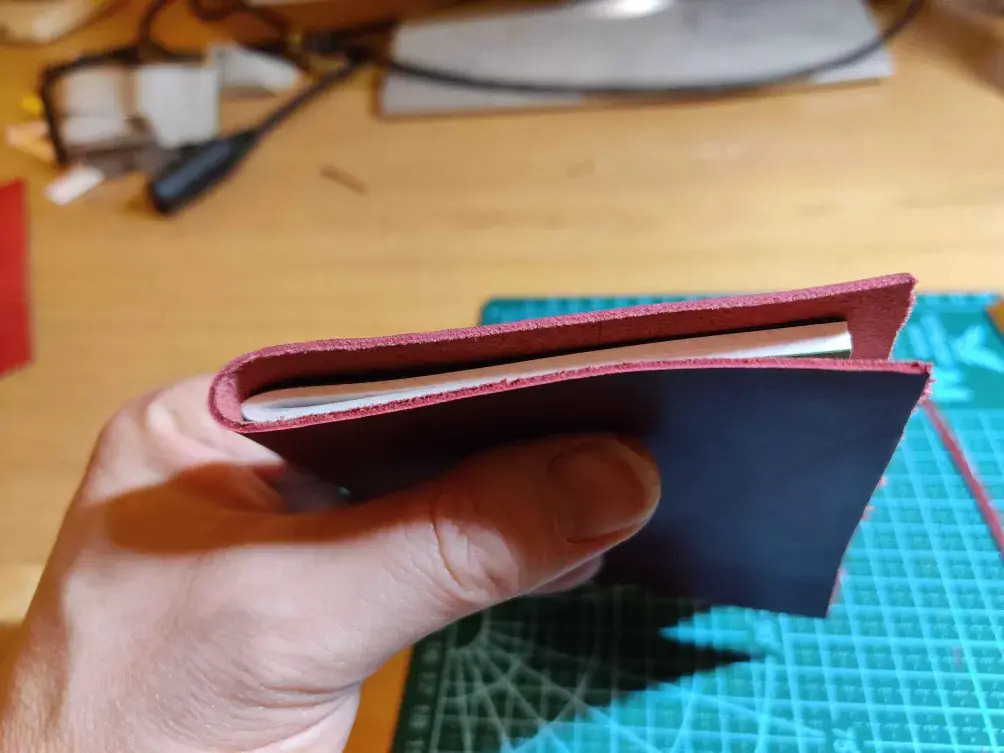
Until the sewing was finished I didn’t know for sure if I had left enough space for the notebook covers. It was tight! just a millimetre or two less would have made it impossible to fit, but it did fit, and that’s what counts. Also the pen loops as a closure worked well too. One of them needed a slight shave, but otherwise they are great. The biggest issue is that the pens I like are taller than the cover… but that can be fixed with some pen shopping!