A couple of years ago I saw that somebody on the internet had made a Slow Movie Player, and that piqued my interest. The basic idea is that your favourite film is displayed on a screen at a really slow framerate. Eink displays are ideal for this as they use no power except for when updating the image. Their refresh rate is pretty poor compared to OLED displays, but if you’re only updating once a minute, that’s fine. A decent size eink display is pretty expensive though, so this idea went on the back burner.
Earlier this year, Pimoroni released the Badger. A small eink display with a built in RP2040 (Raspbrry Pi Pico) which was ideal as a programmable name badge – hence the name. This was really cool, although I didn’t have a need for a name badge. This also went on the back burner.
The Screenplay
Last week at EMF Camp, I picked up a badger, and suddenly my back burners collided. What… If… A… Badger… Was… A… Slow… Movie… Payer?

The Badger runs Micro Python, and the documentation for this and the specific Badger stuff is great for a non-programmer like me. Using Pimoroni’s Python image converter, I could easily get the Badger to display a single image. That was all I needed to know to go ahead with this crazy idea. All I needed was every single frame from a film and set it to display them one at a time. How hard can that be?
Enter Stumbling Block The First – Stage Left
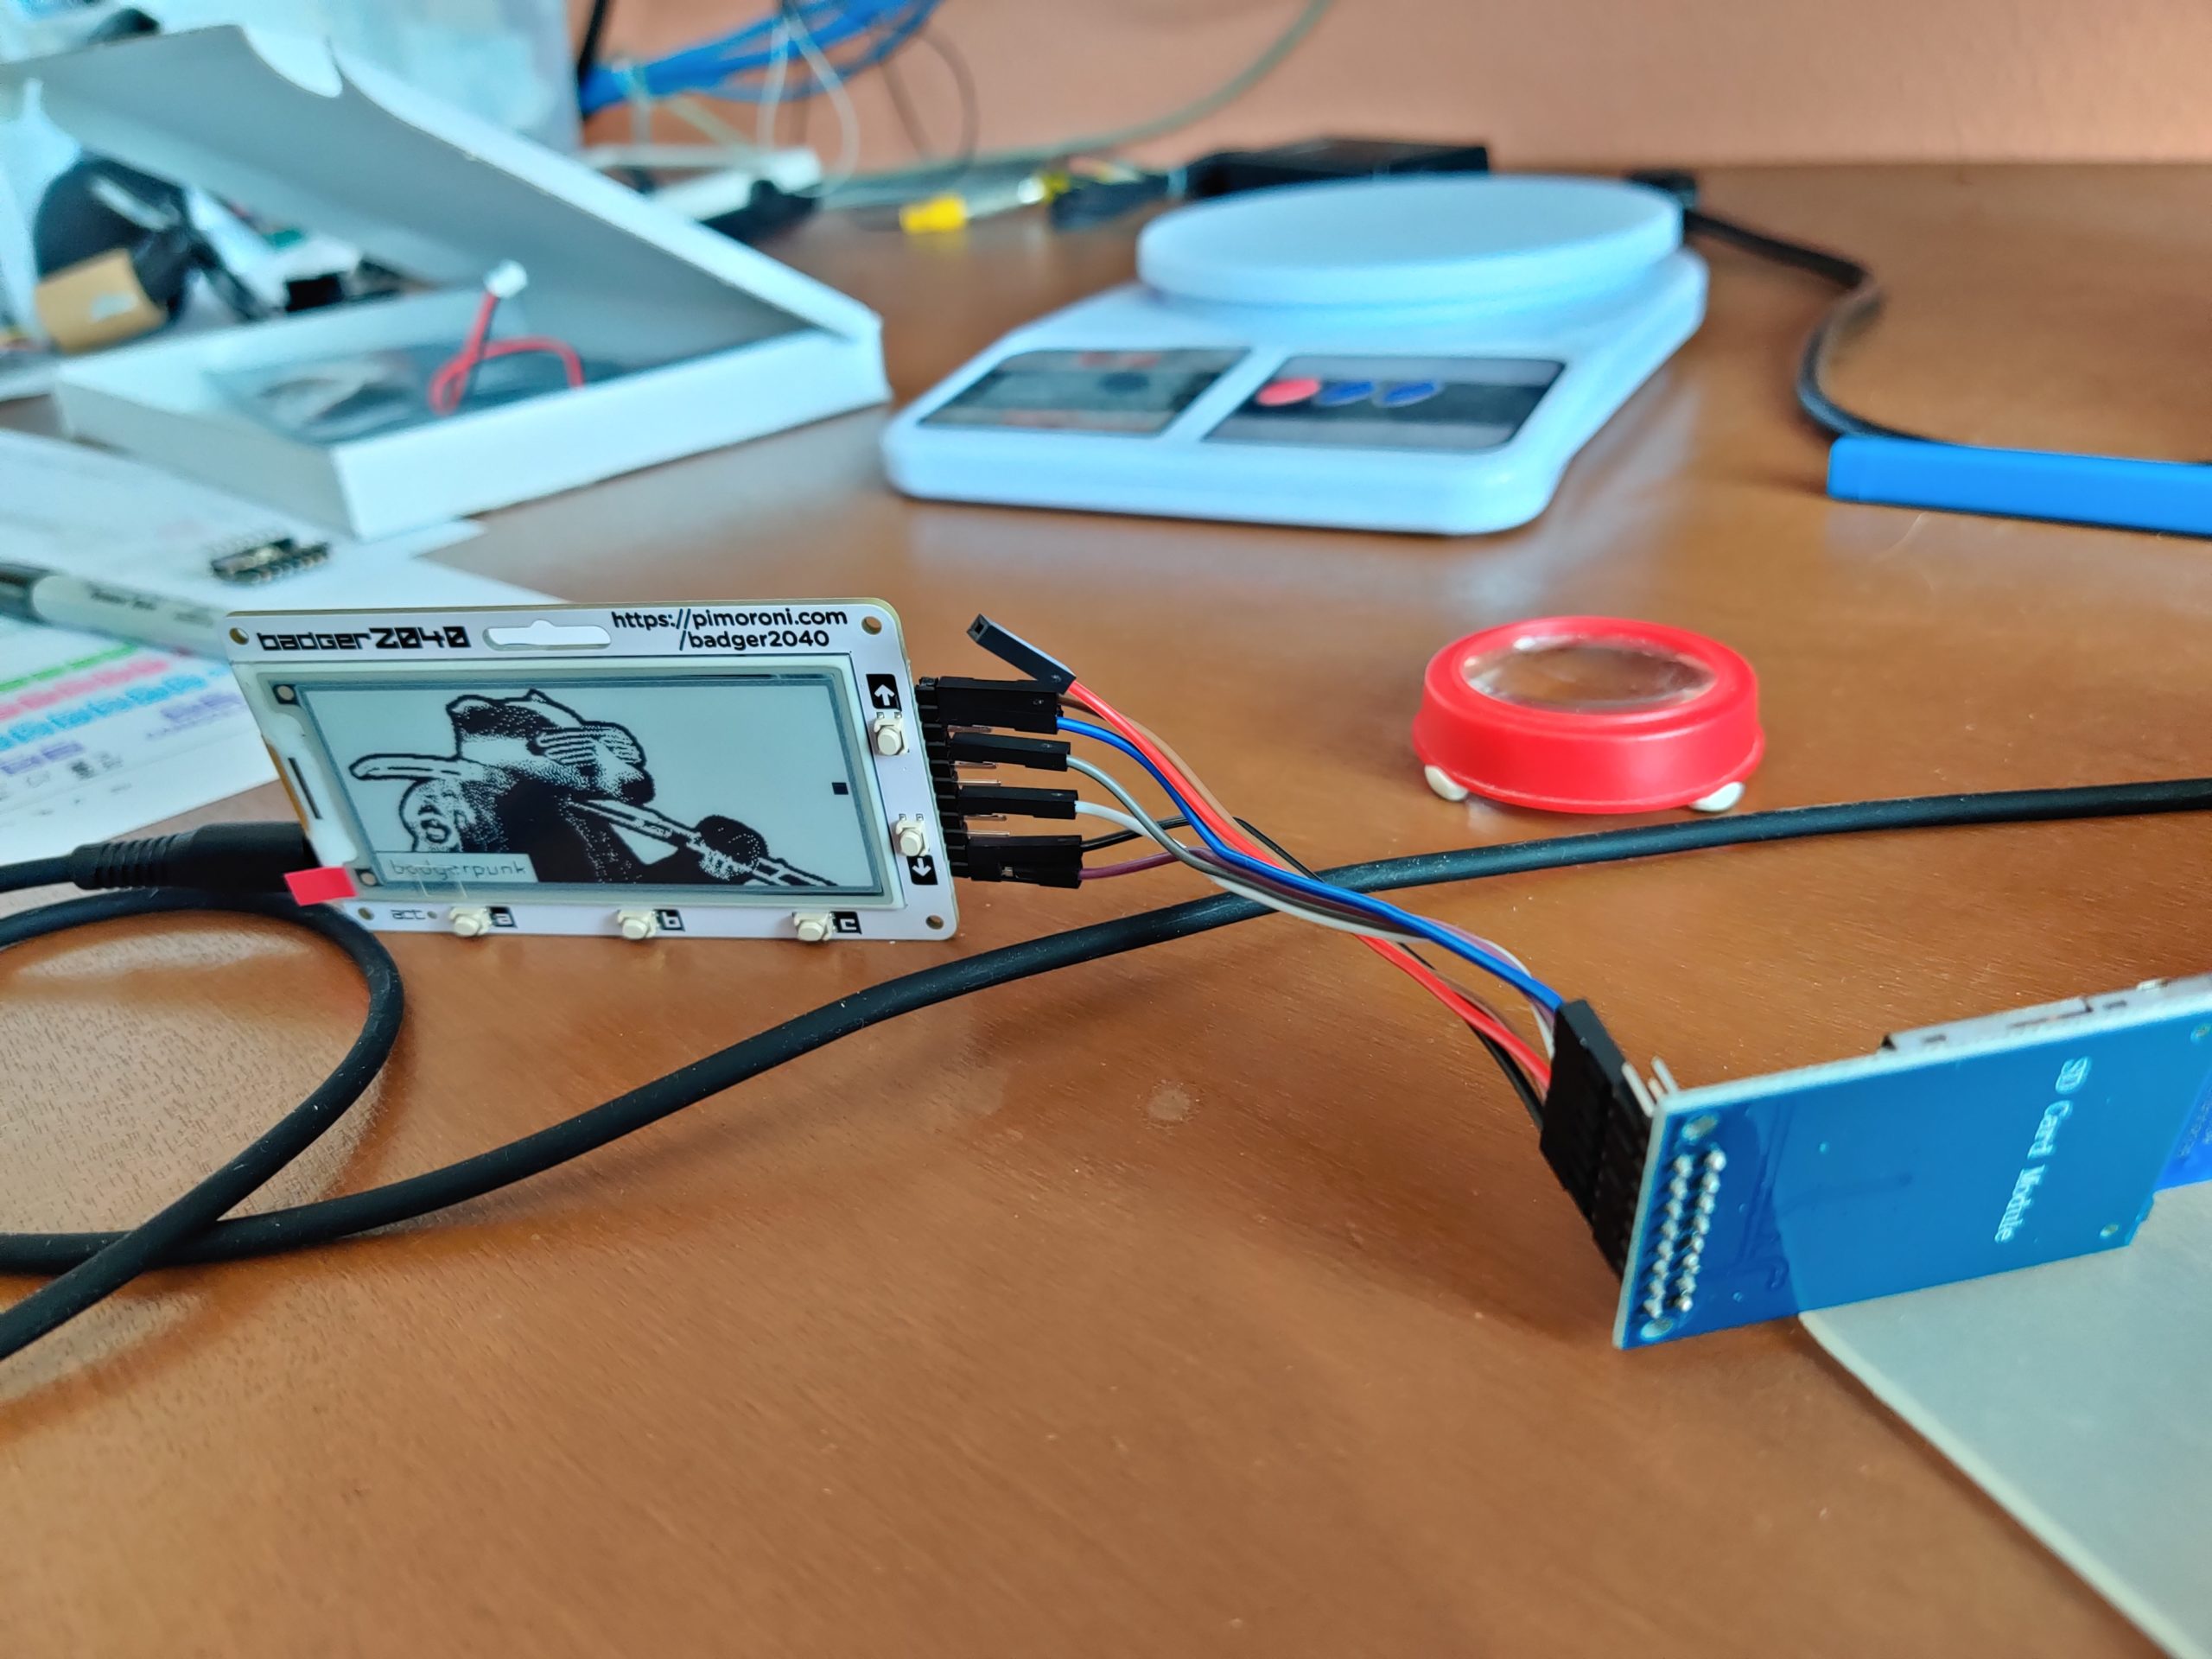
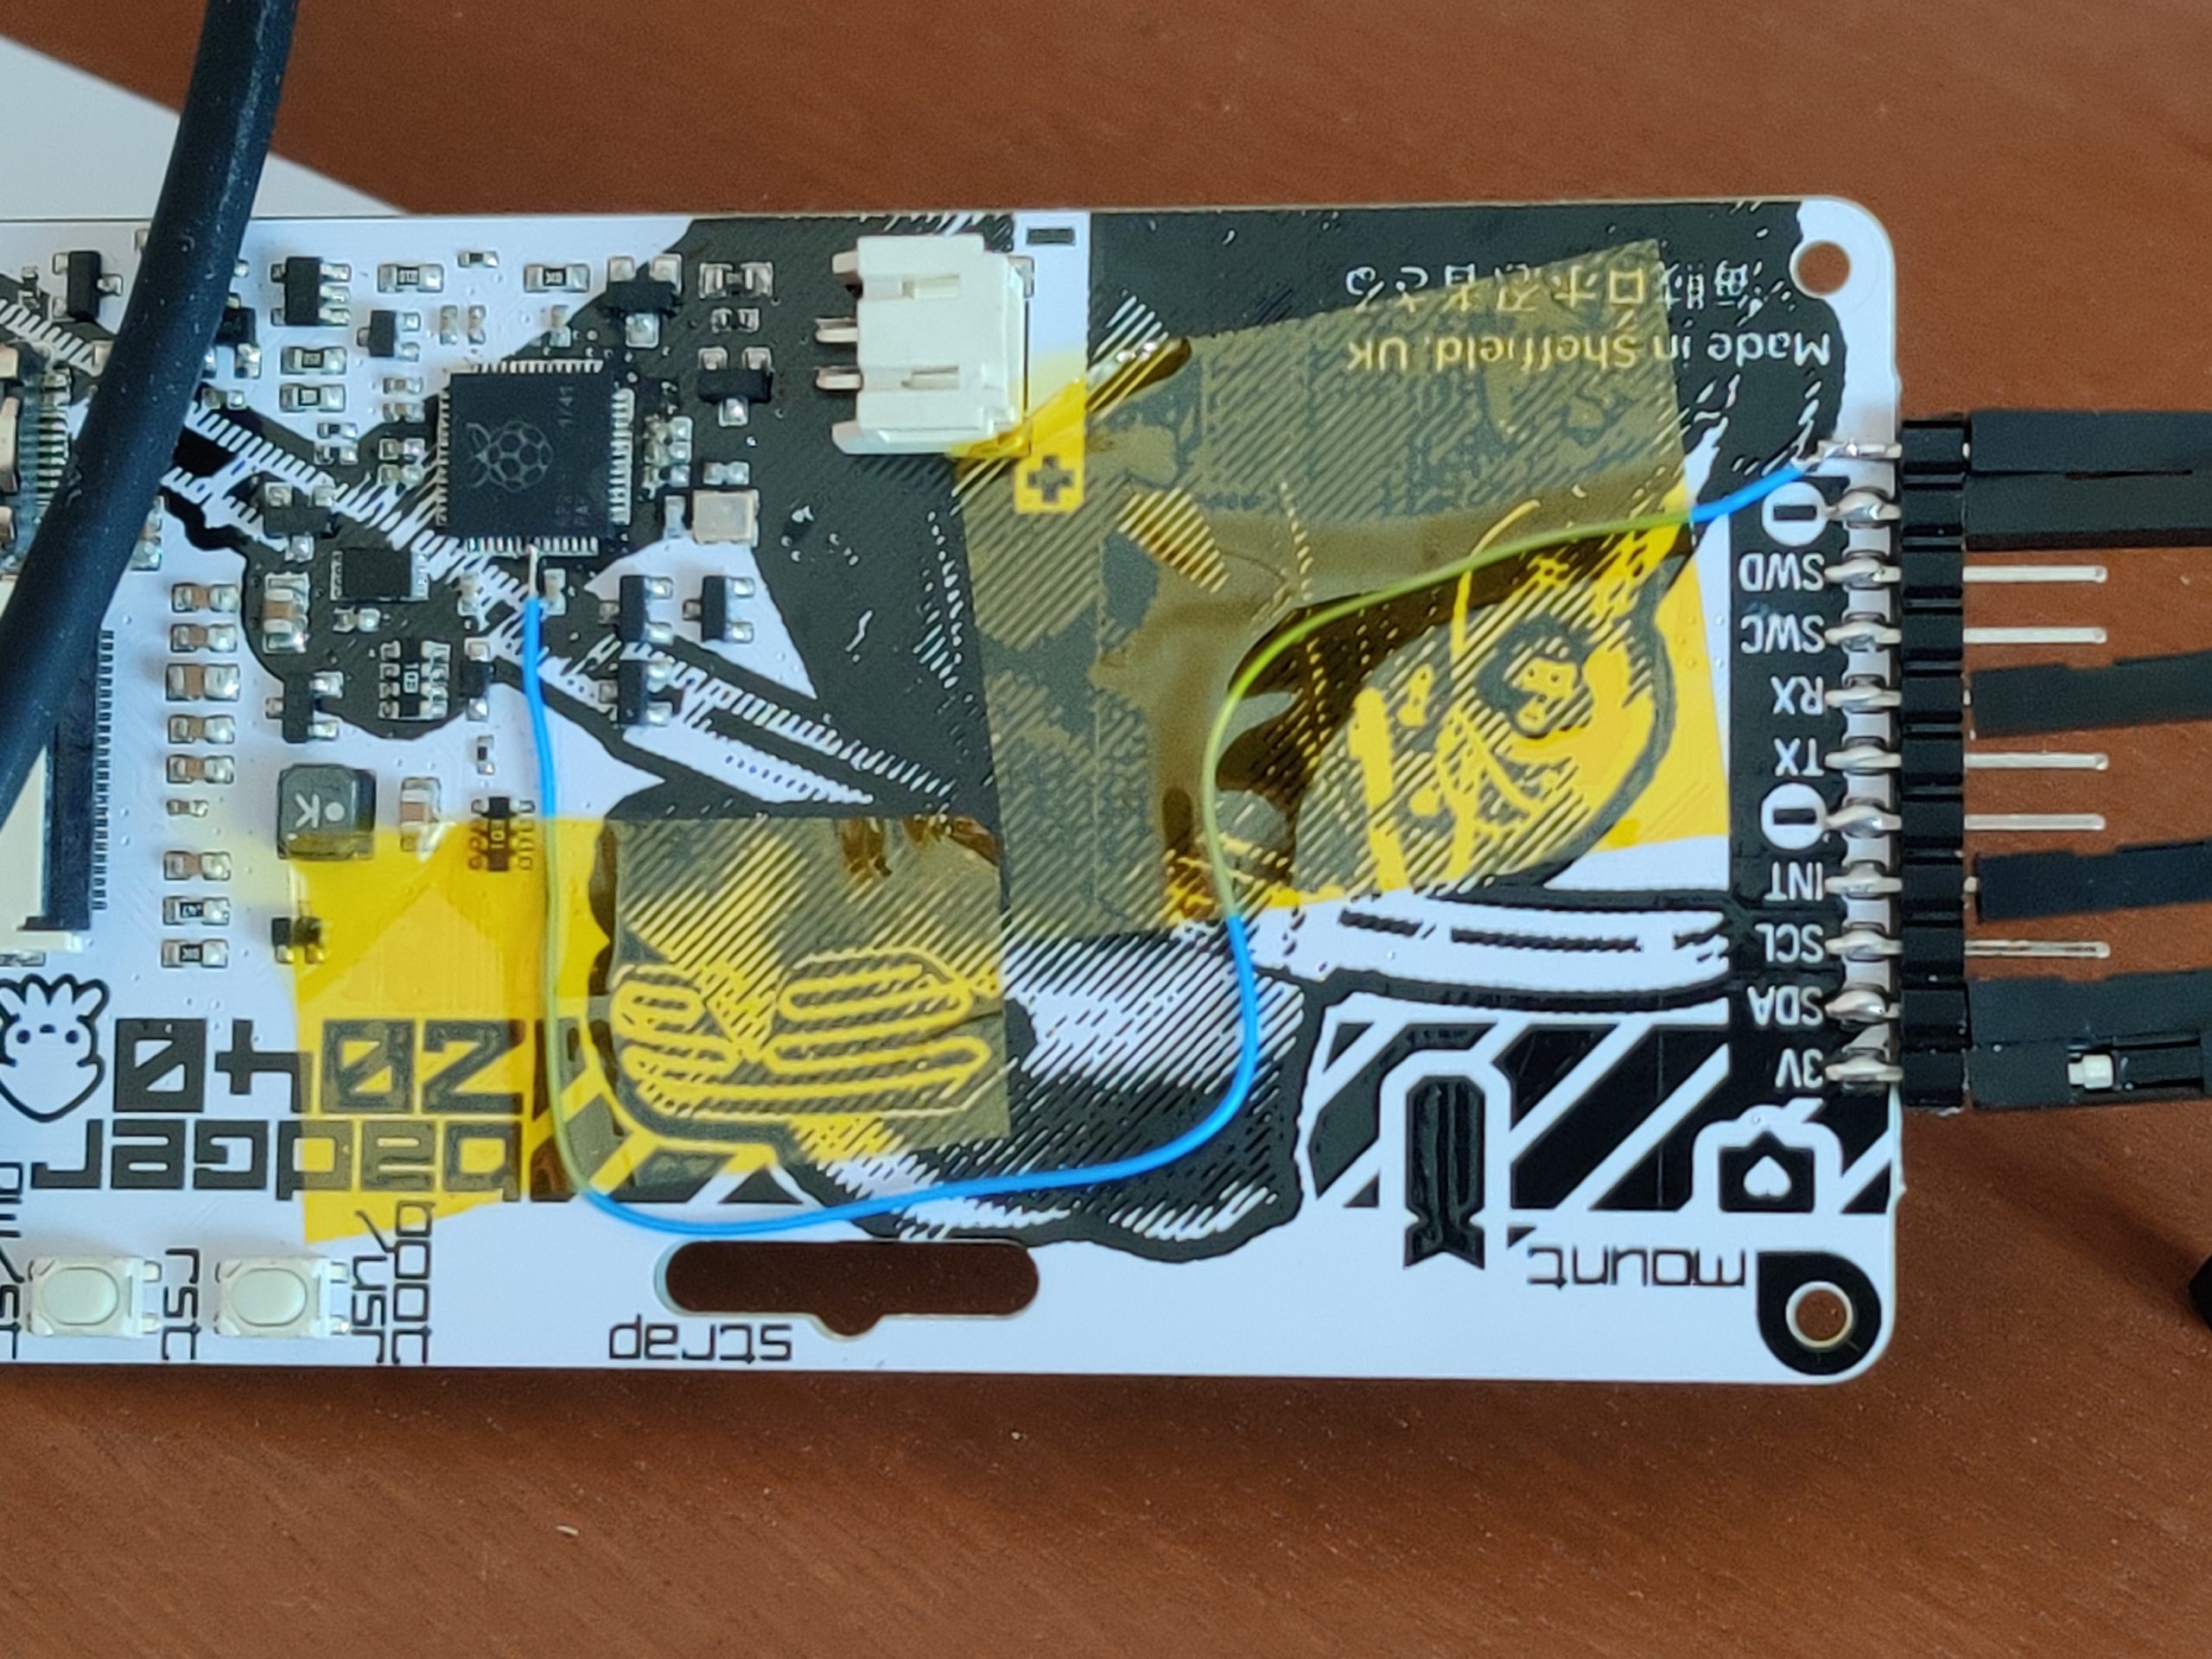
A raw image of 296×128 pixels is pretty small (4.7k actually) but a film has a LOT of them! Typically 24 for every second of it. That soon adds up and is way too big for the Badgers memory. So some external storage is needed. The good folk at Pimoroni thought ahead and were kind enough to add i2c pins and some other signals to the back of the Badger. Sadly, an SD Card needs SPI, and although some of the SPI pins were present, SCK wasn’t. I really thought this was going to be a deal breaker here, however, the SCK that serves MISO and MOSI 0 is simply unattached on the RP2040. An ideal excuse to add a Badger Bodge Wire!
There was a certain amount of trial and error getting the Pico SD Library to work here, although this was mainly my error in not understanding how it worked Once I’d got it working, displaying an image worked a treat.

Act 2: A Dress Rehearsal.
The Image Converter program does a great job of converting .png files in to something the Badger likes. All I needed to do was find a way to get a .png for every frame in a movie. there are a lot of free online converters, but I tried the demo version of Total Video Audio Converter and it seemed to do exactly what I wanted, albeit with Trial Version stamped on ever frame. It was $29 for the full paid for version though, so after being happy that it did what I wanted it to do, I paid for a licence code.
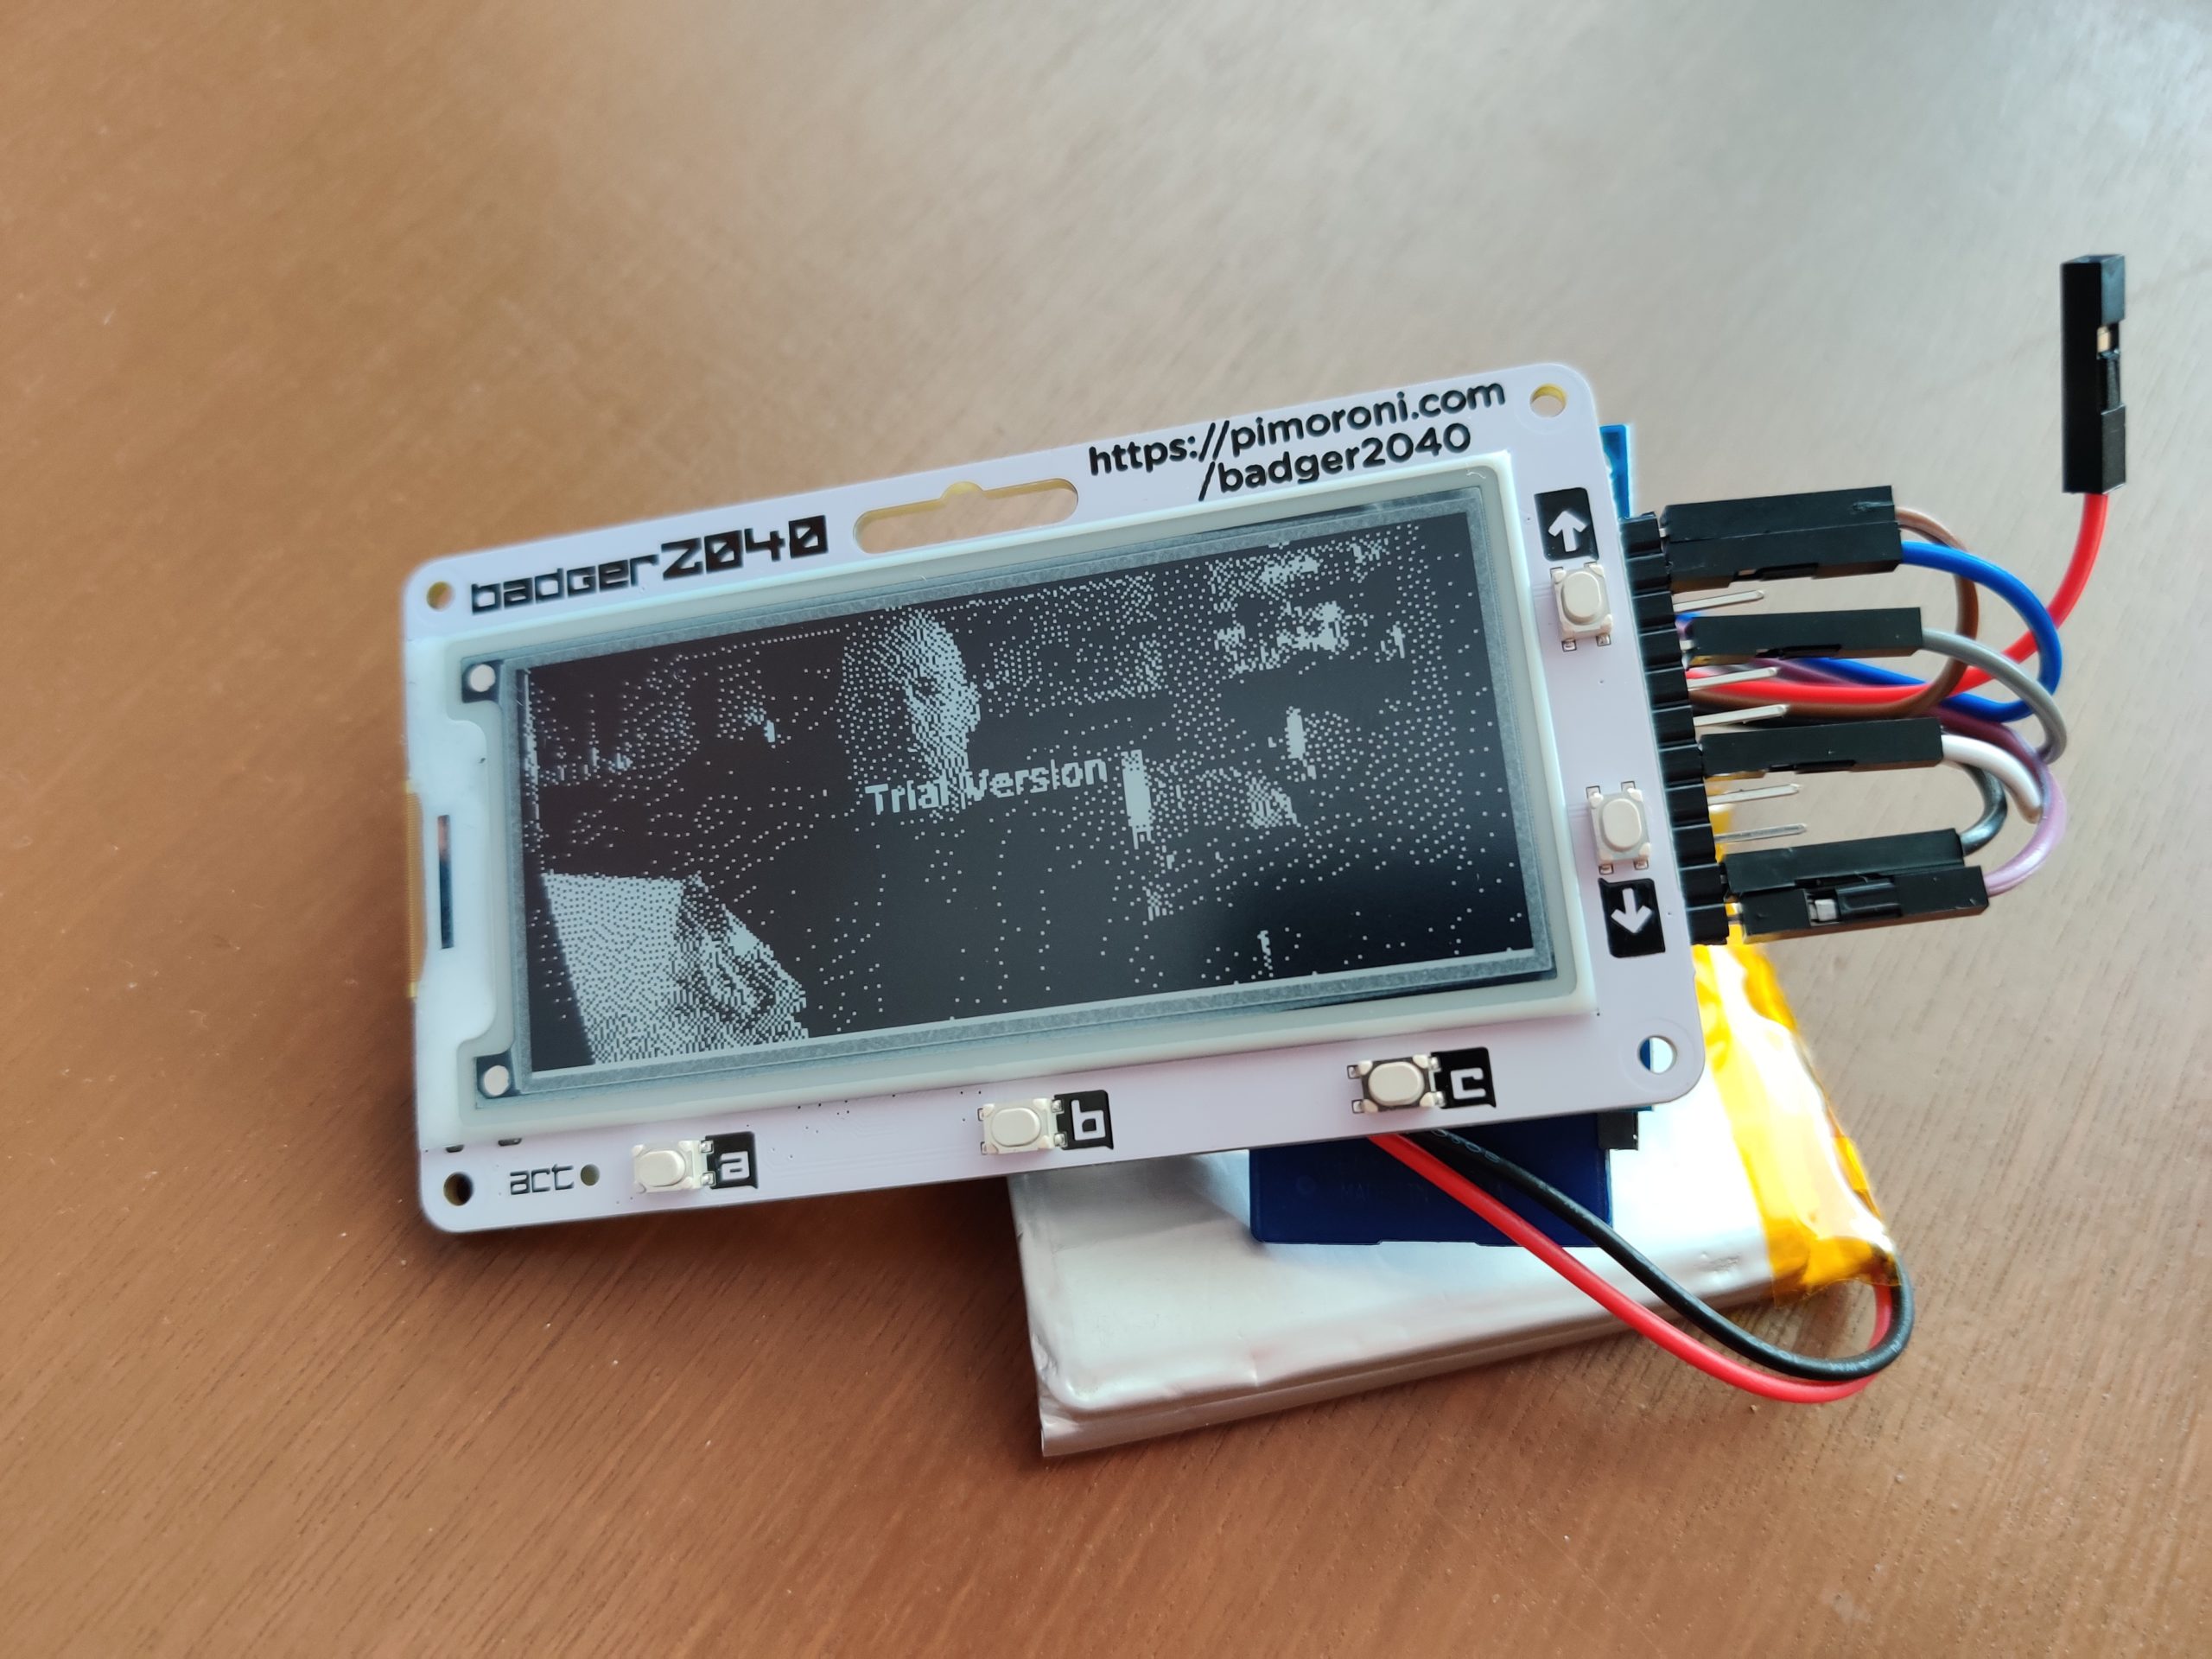
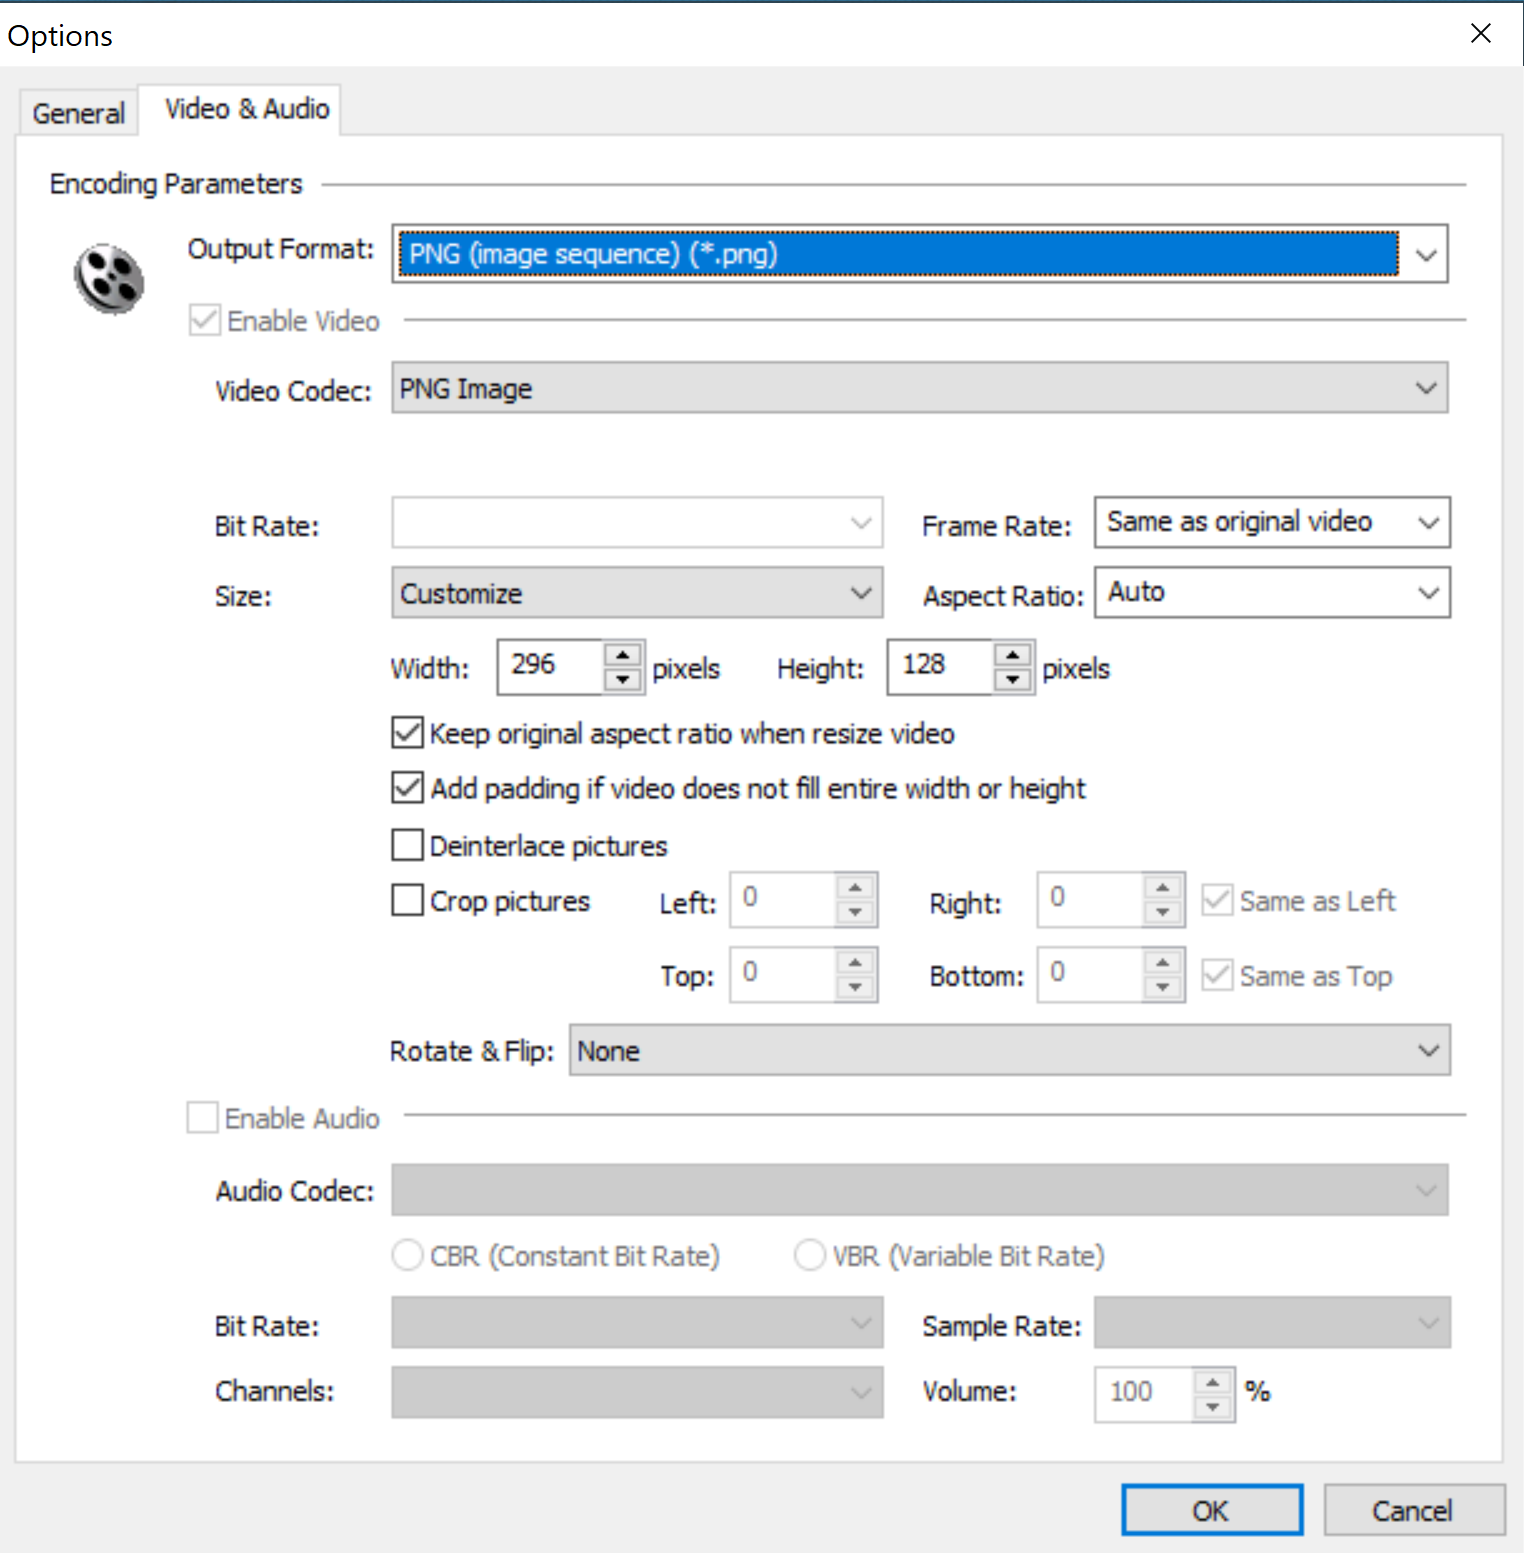
The key settings for TVAC is to output .png files at a 296*128, keeping the original aspect ratio and adding padding where necessary. A full movie takes ages to process (and would take much longer to watch!) so I picked a few seconds worth and gave it a try.
Lights! Camera! Action!
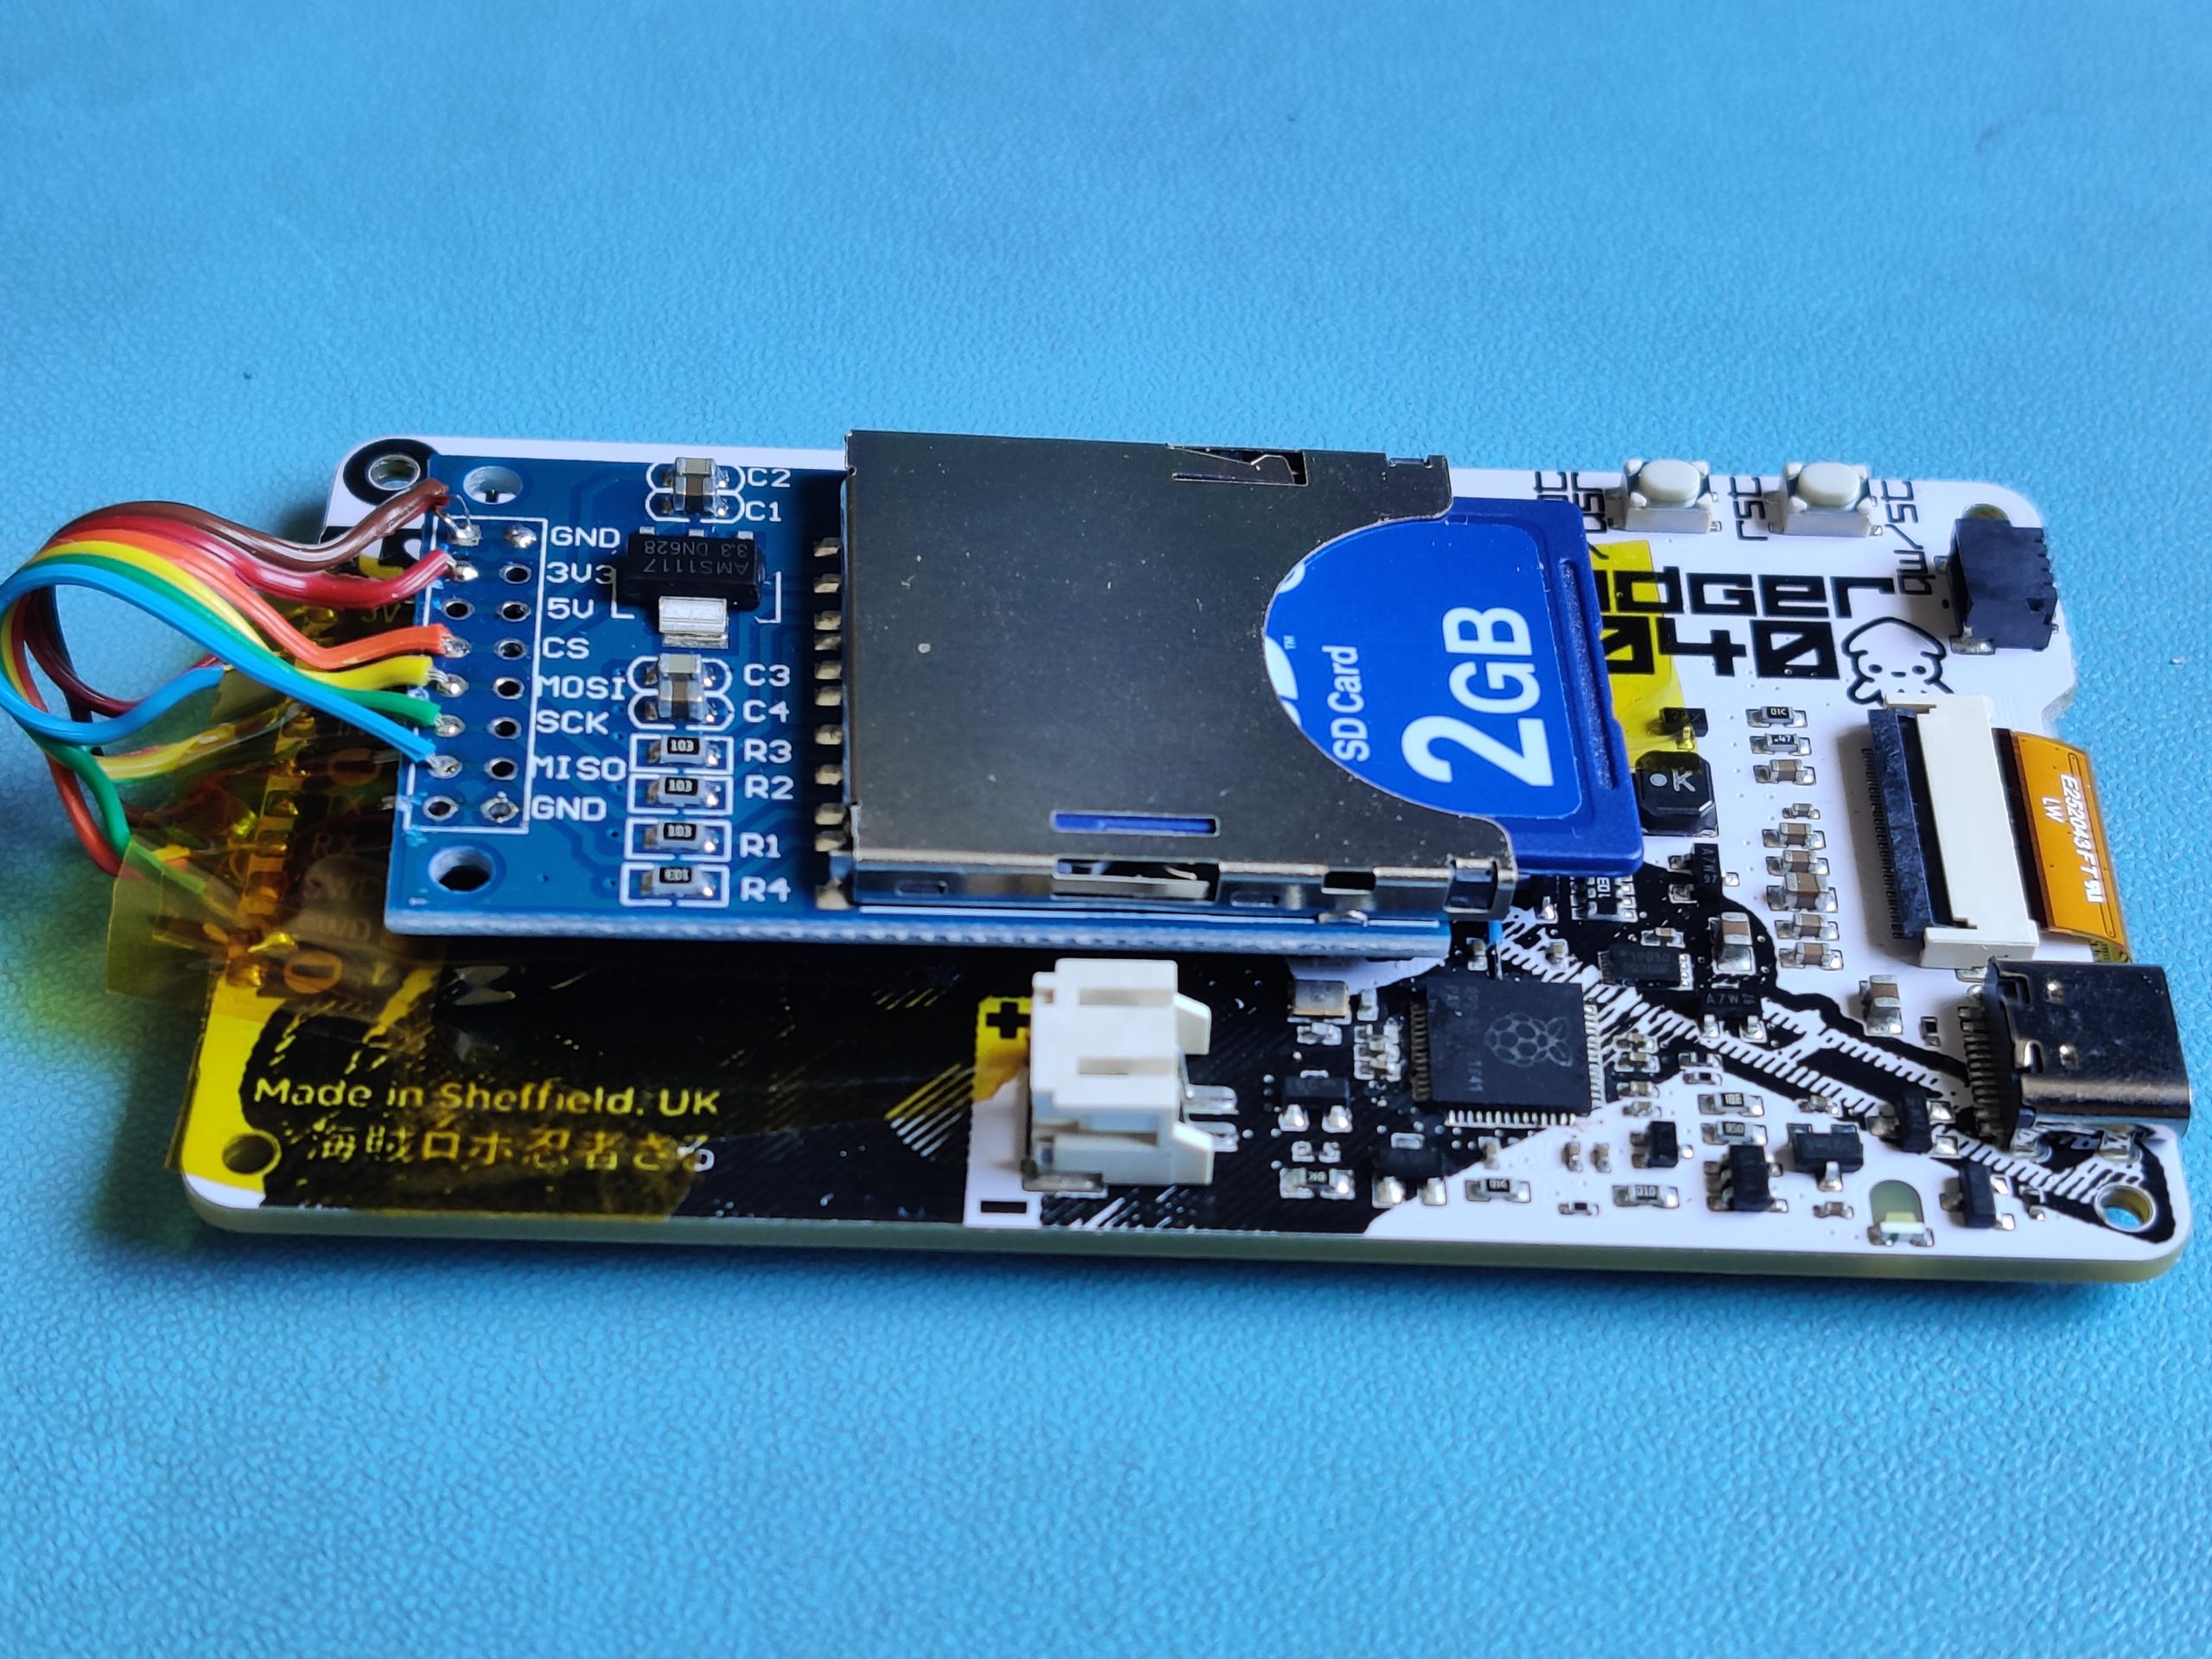
With dress rehearsals going well, it was time to make the final edits to the script. Firstly the wiring between the Badger and the SD card module needed tidying up. They are held together with Velcro, and this works pretty well.
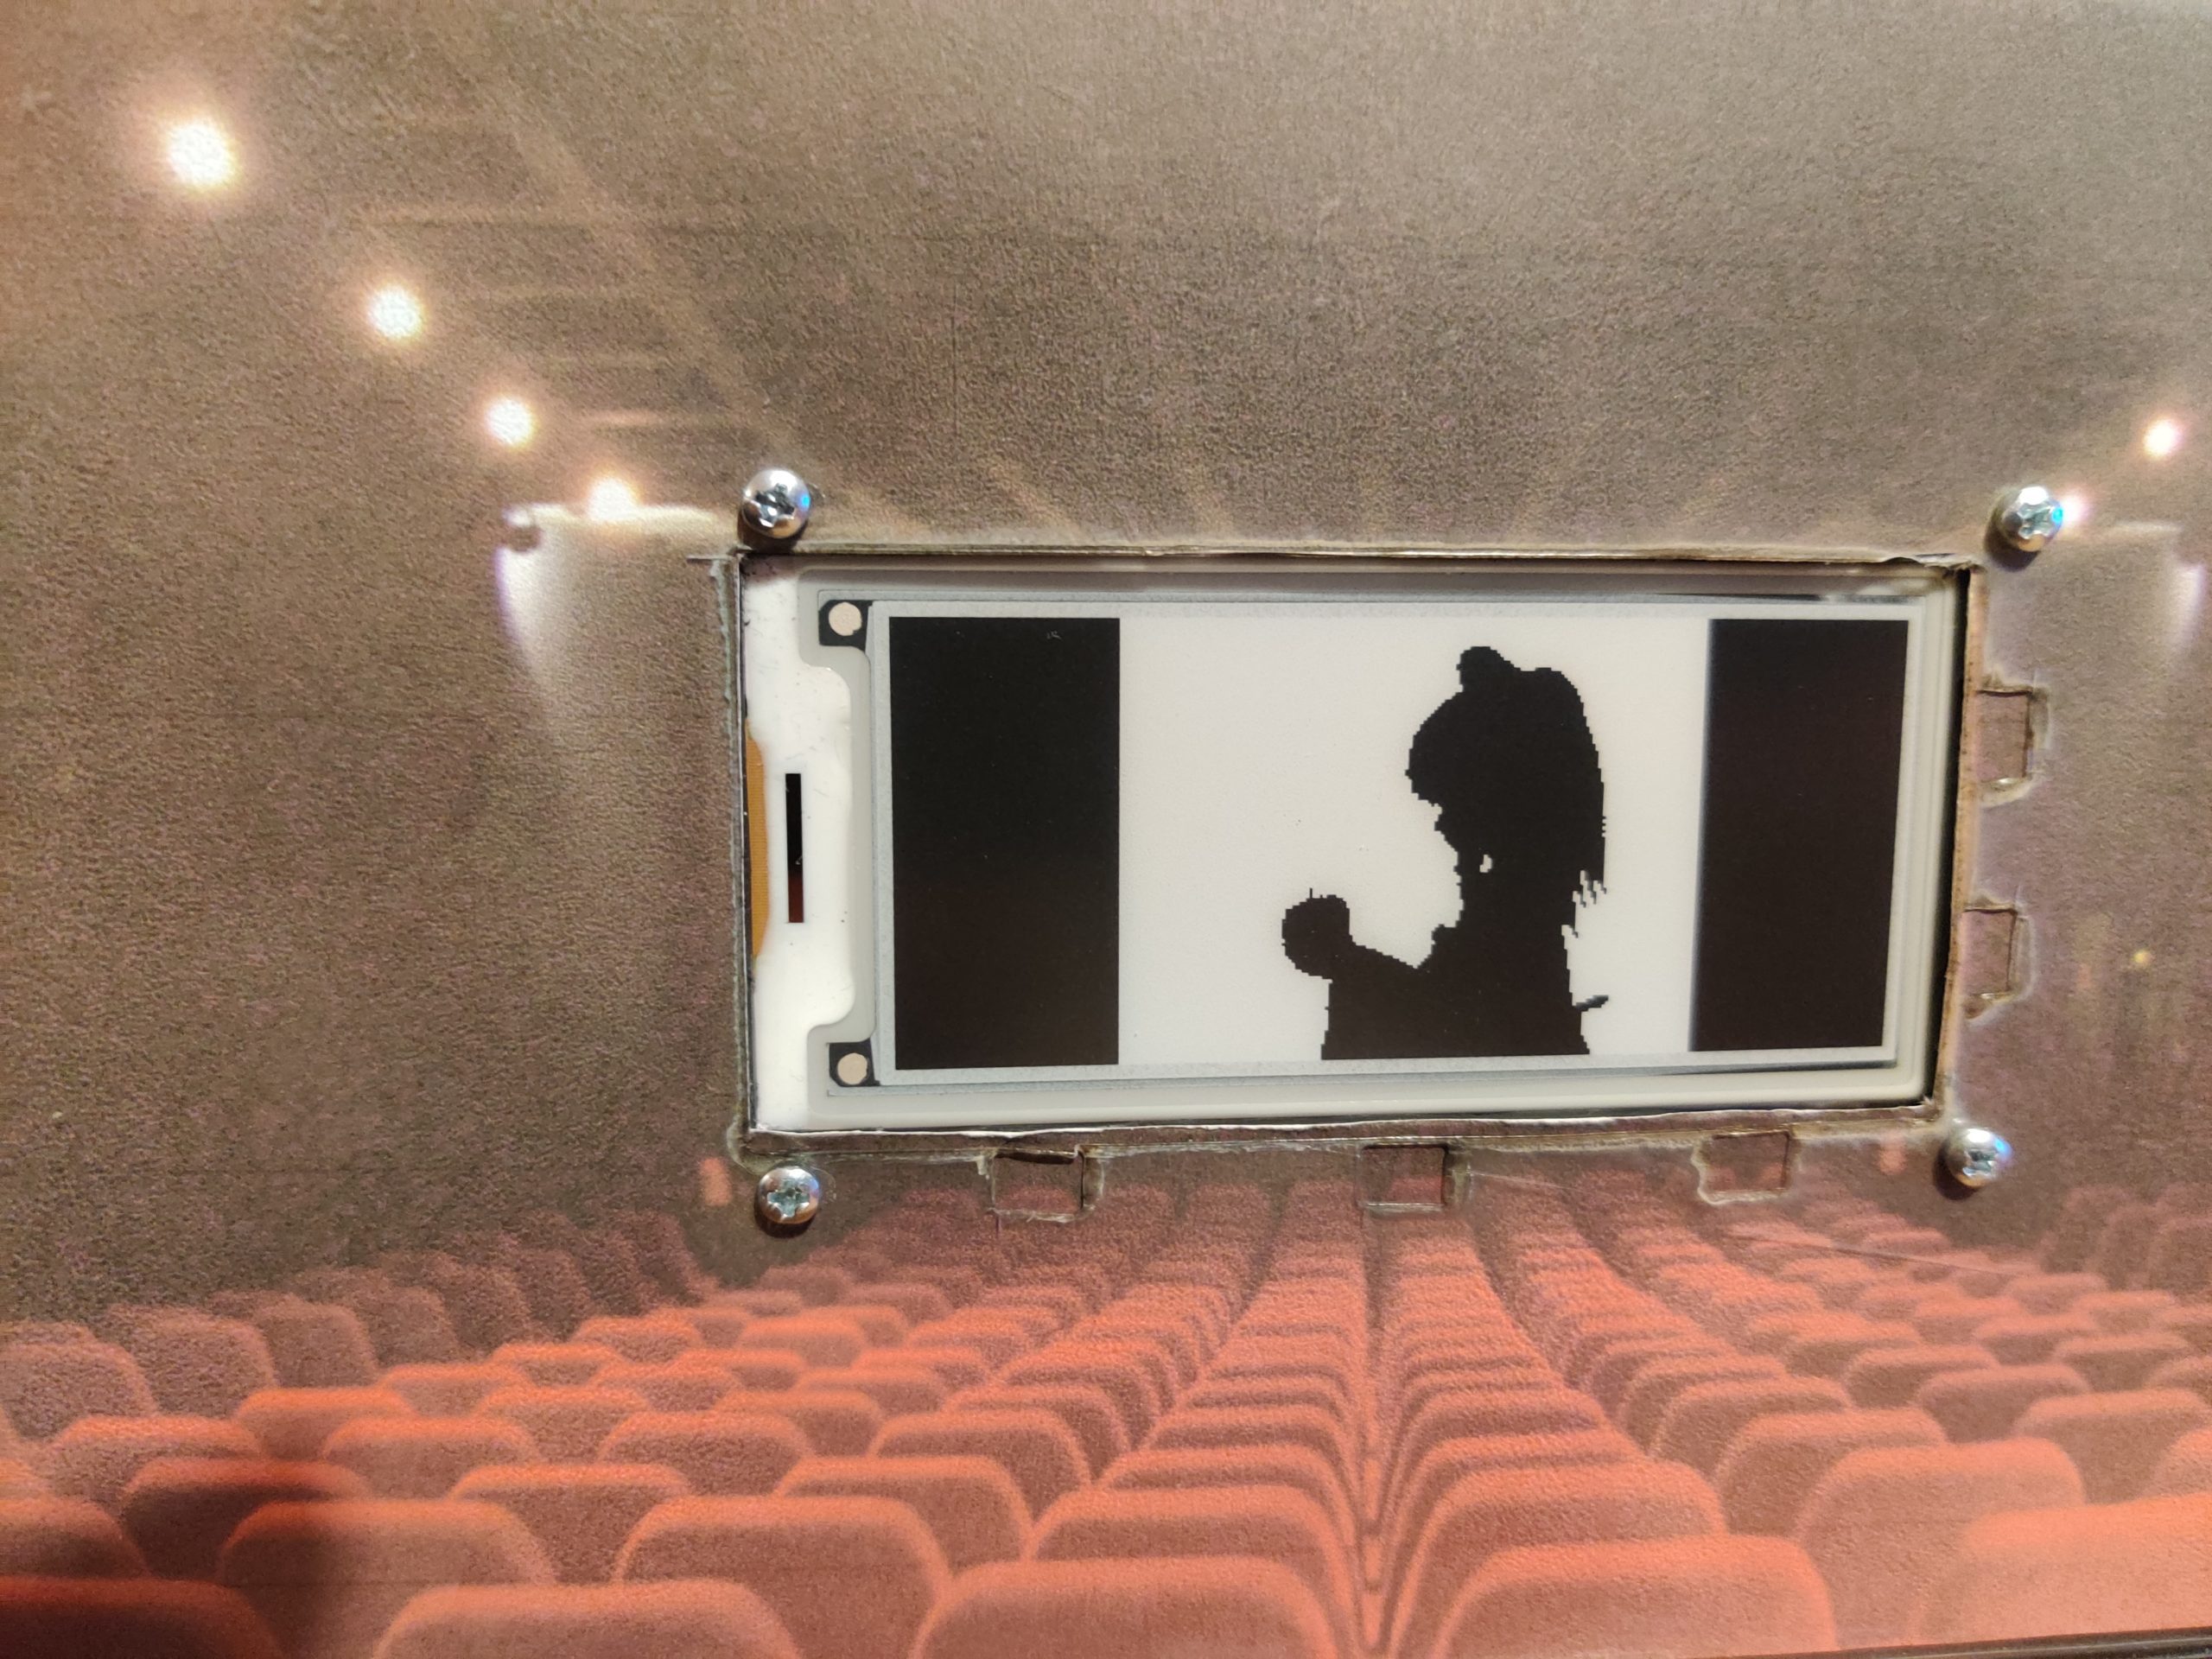
With a full version of TVAC purchased, it was time to pick something suitable for the opening night. What better to demonstrate it than the ultimate demo Bad Apple. Every single shot in this stands alone as a great image, and it is perfect for the black and white constraints of the Badger (although dithering works well)
Straight to VHS

A suitable enclosure can really make or break a hardware project. For the Slow Badger Movie Player, it seemed appropriate to reuse an old VHS cassette box. The dimensions were easily found, so I decided to use the laser cutter to make things as accurate as possible. Although technically this worked, I would not recommend laser cutting a VHS box. The amount of (probably poisonous) smoke was quite worrying.
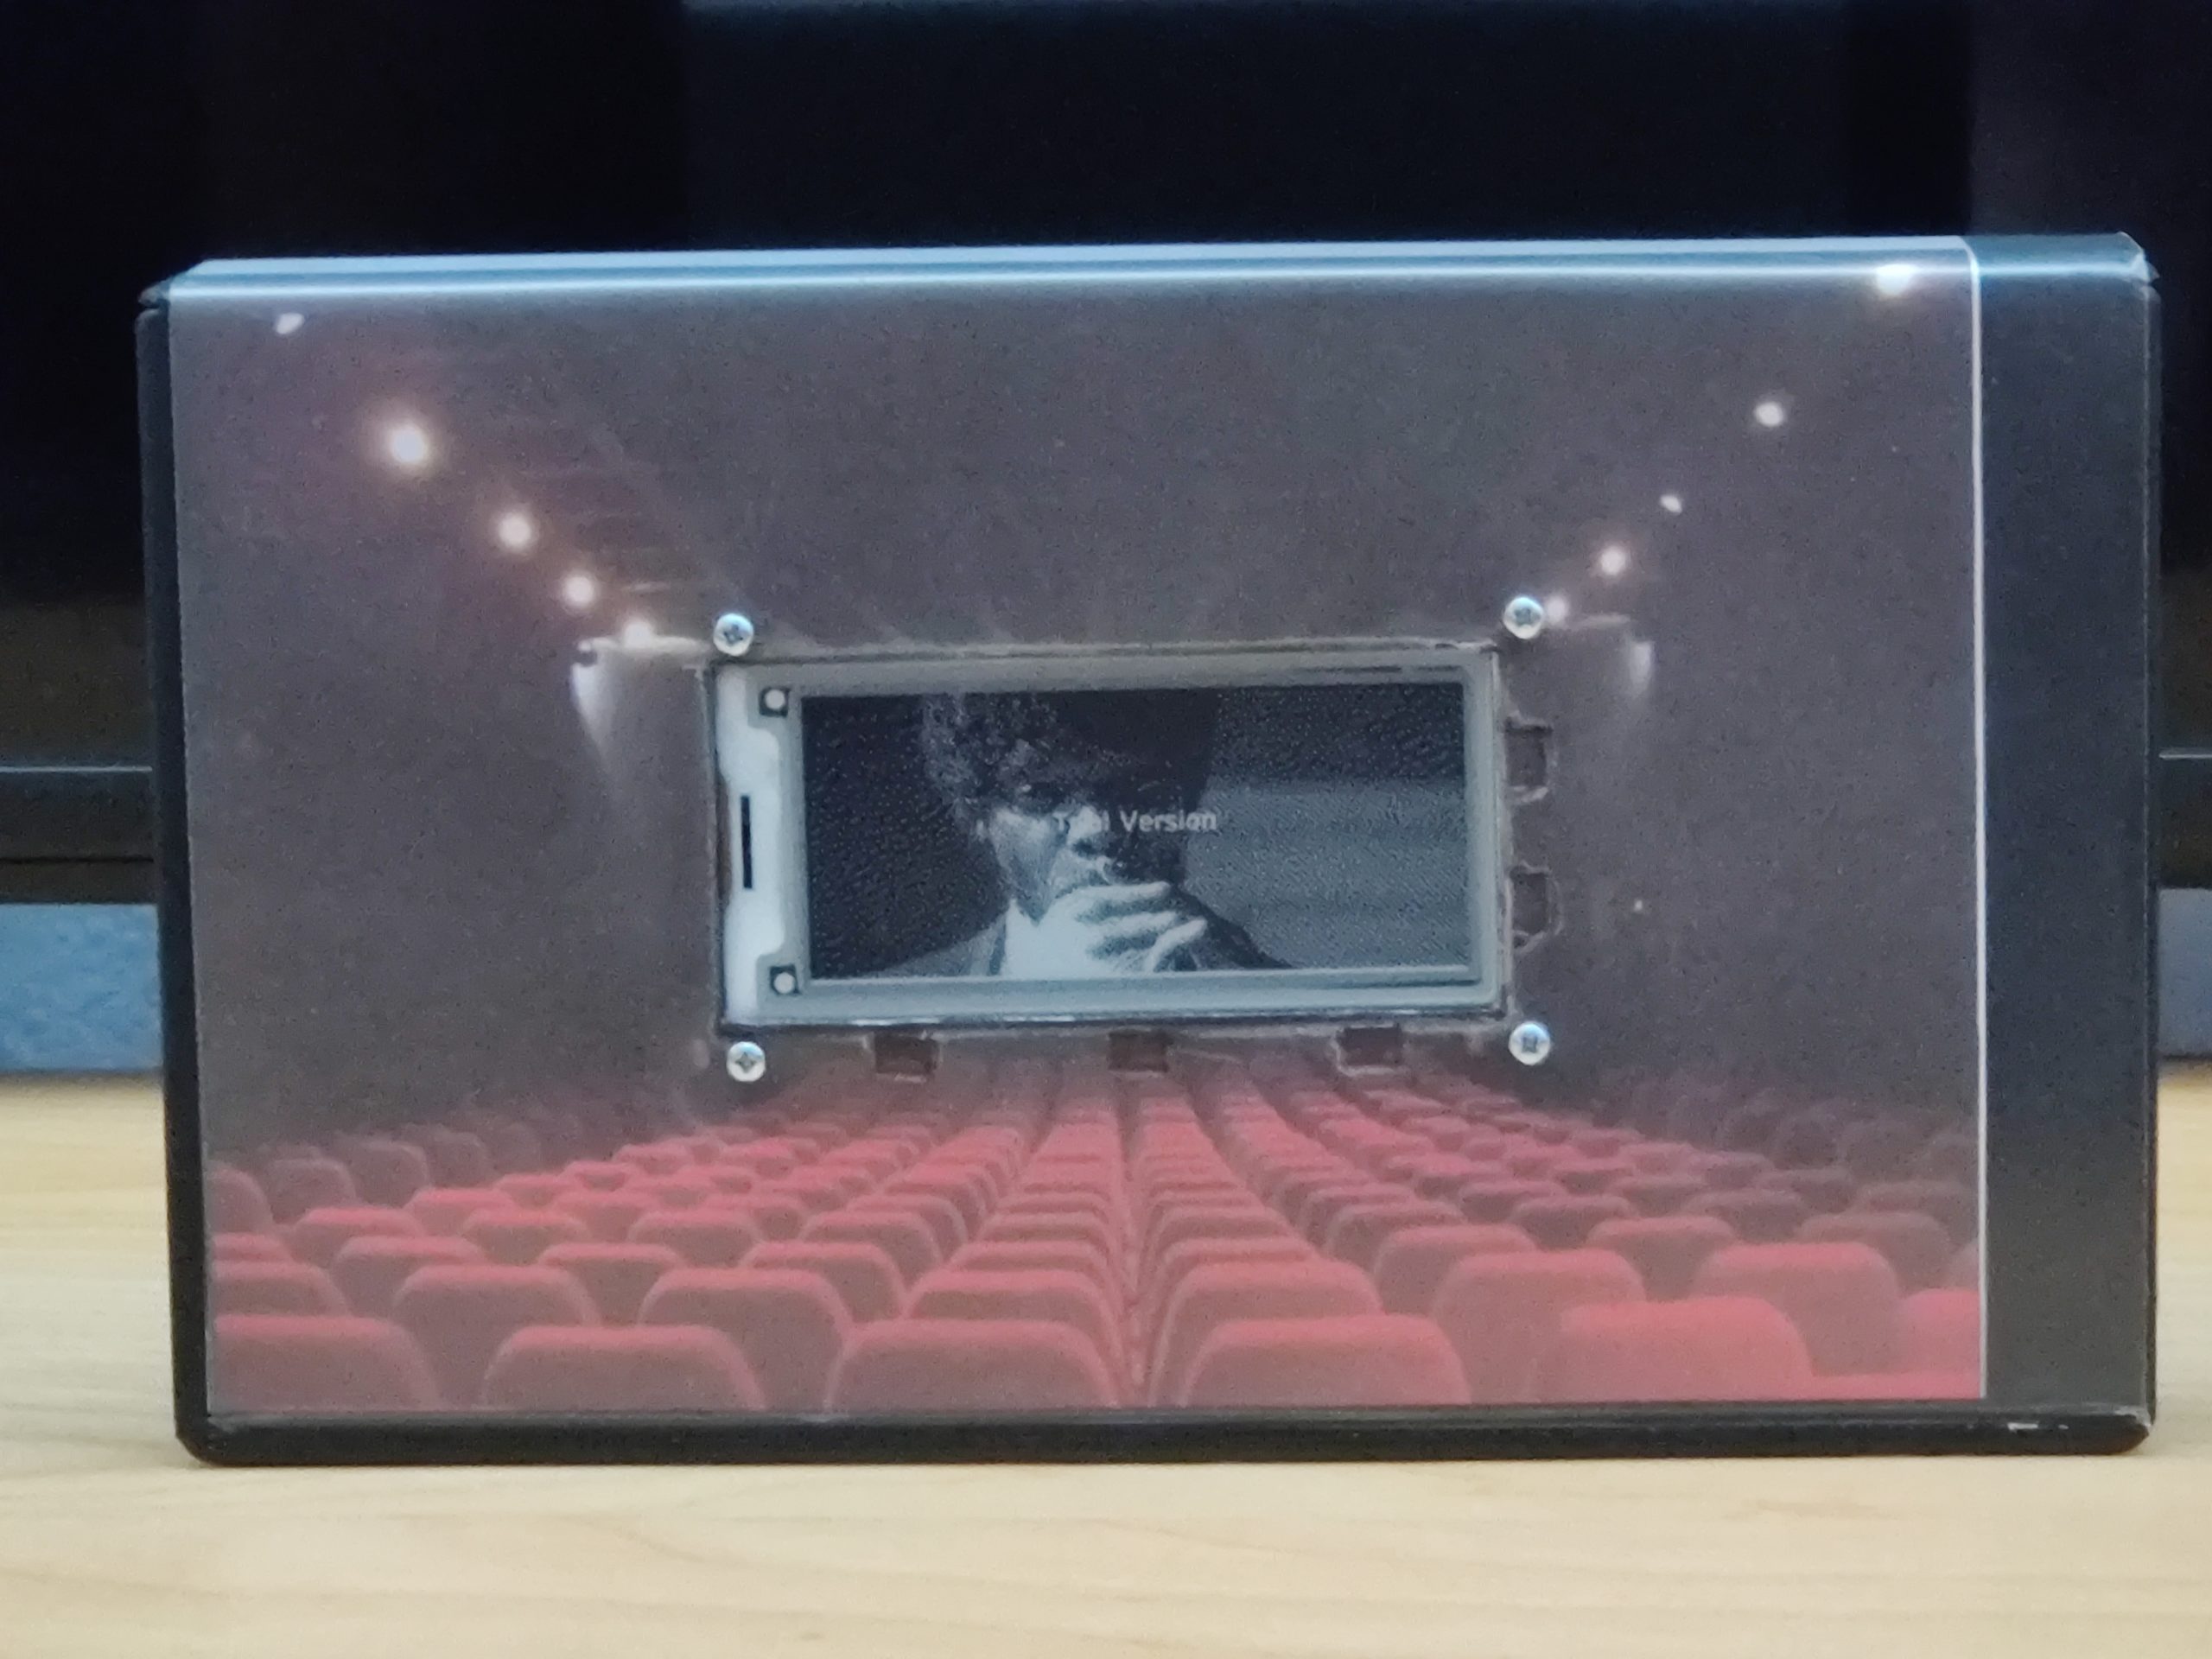
With a suitable image printed out and put inside the case, everything was complete.
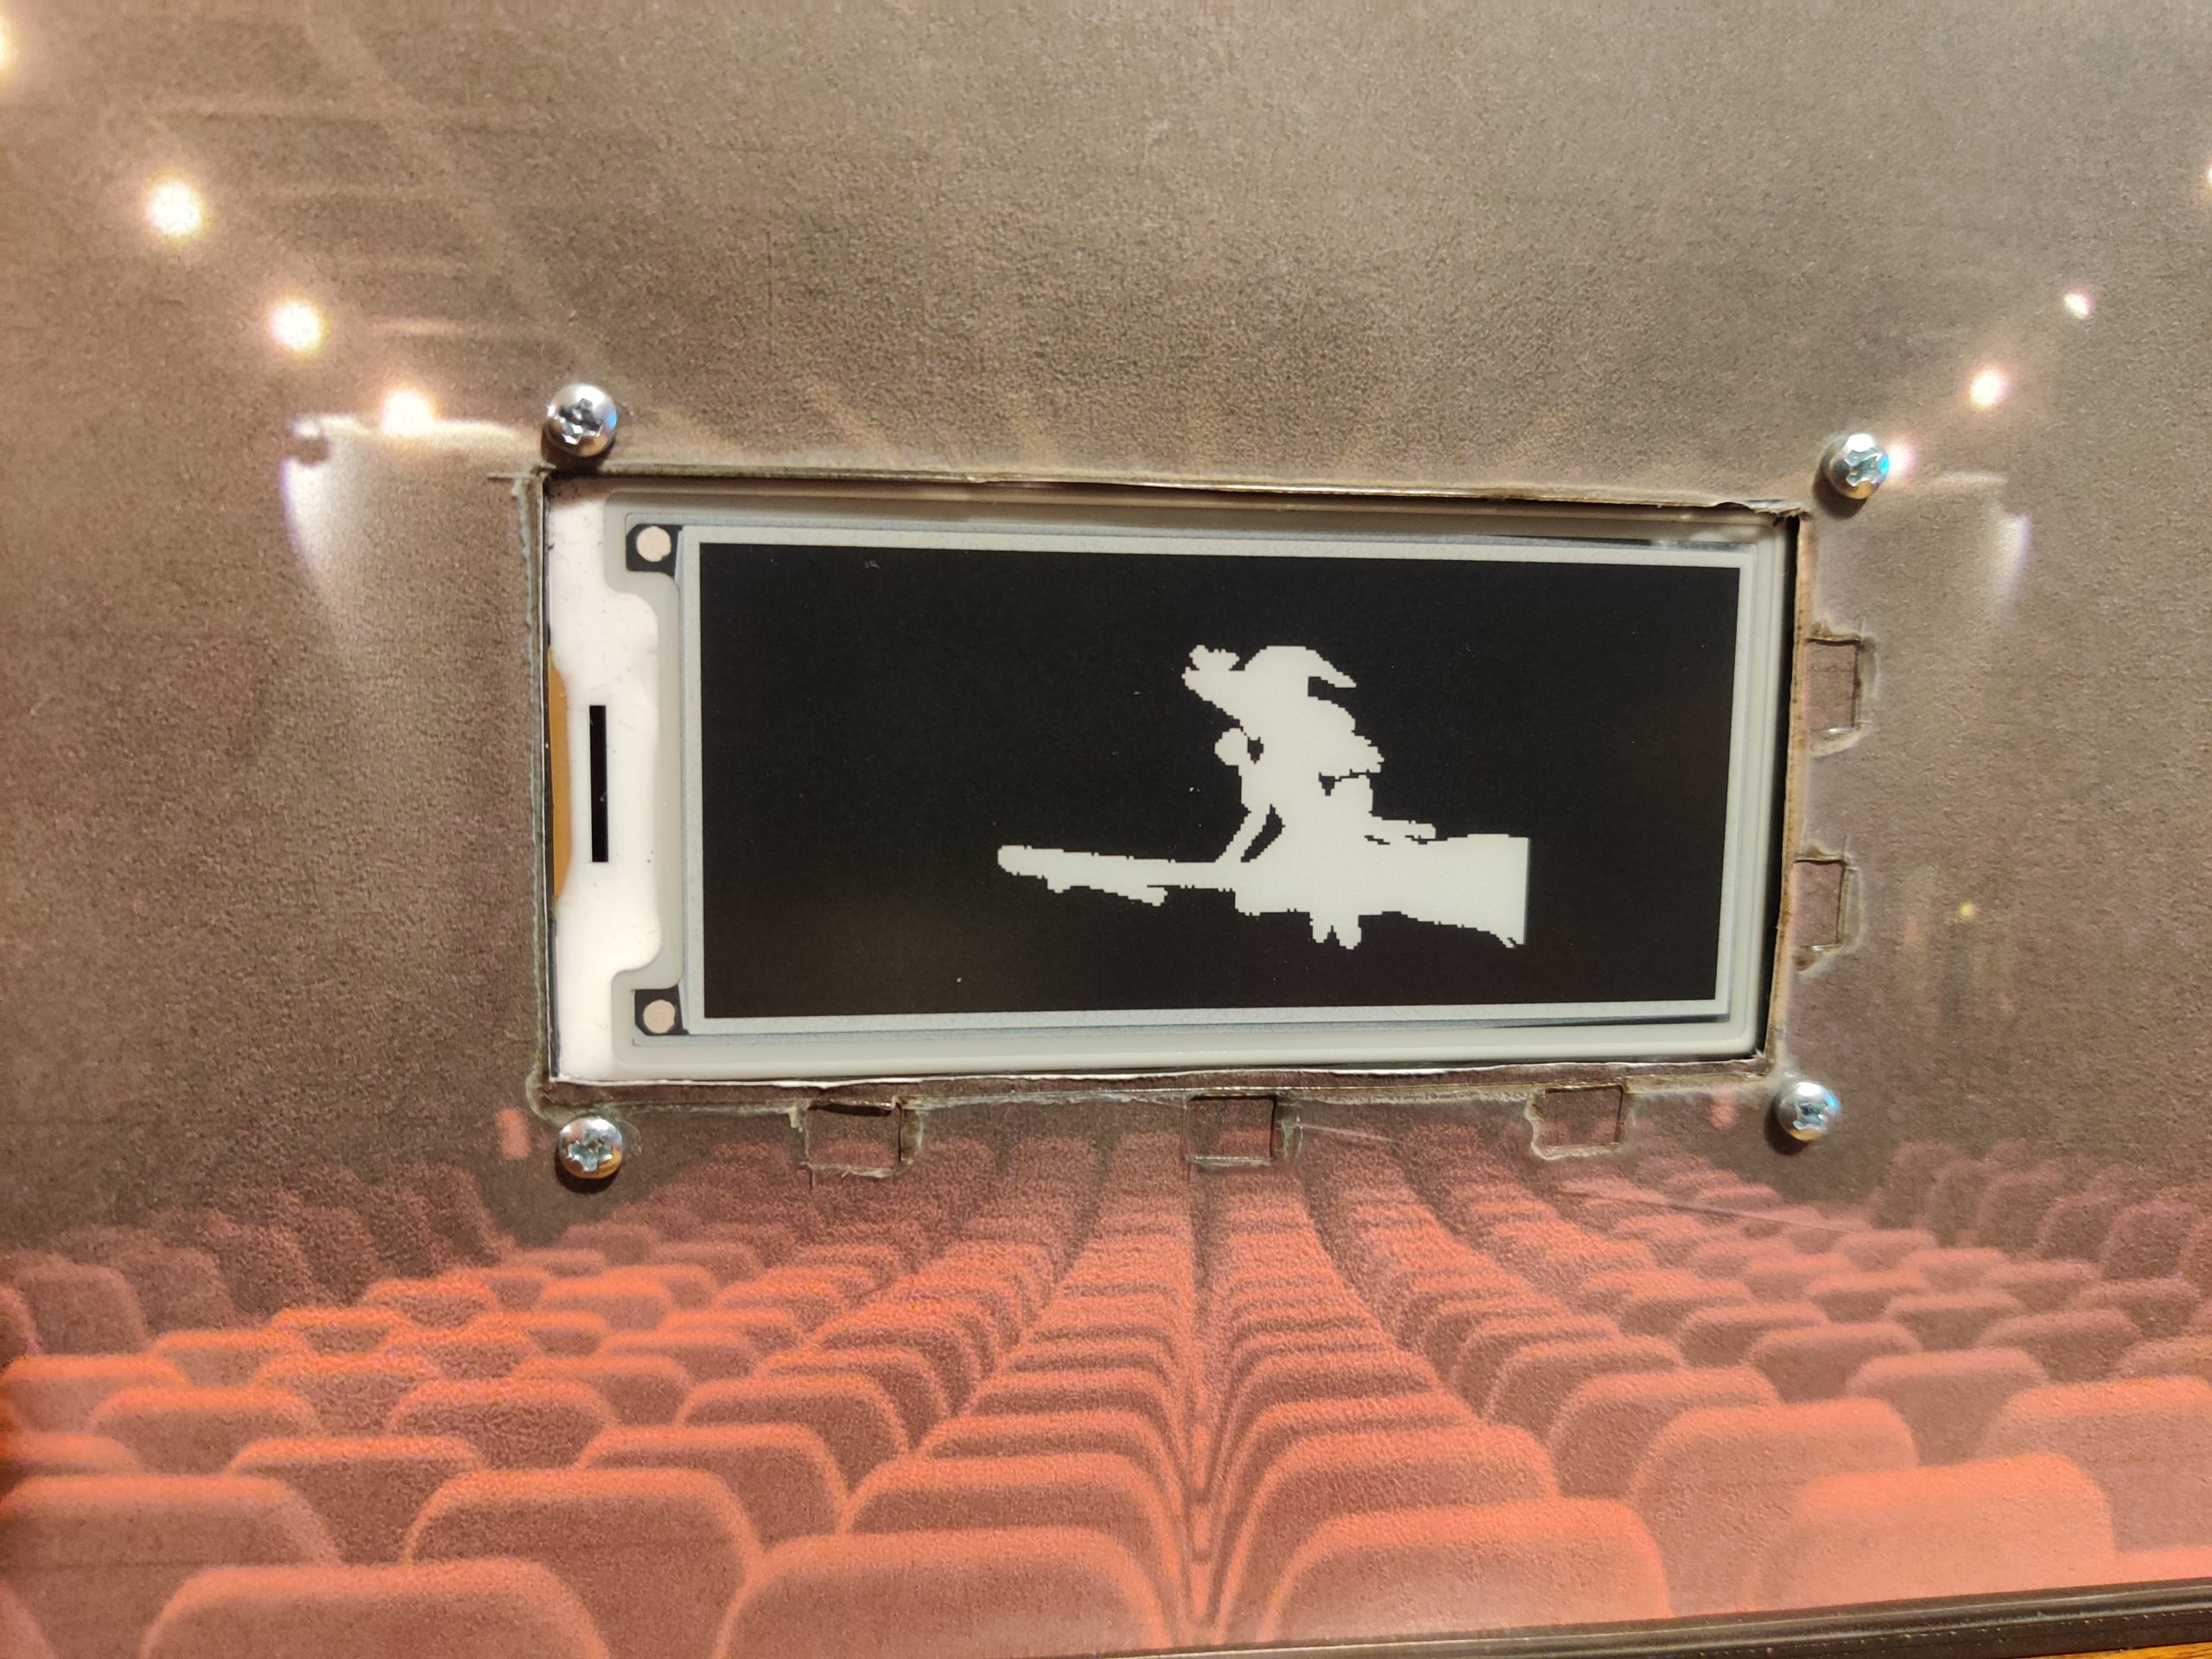

Over all, I’m really pleased with how this turned out. It works really well, and takes just over 2 days to get through Bad Apple (Vs 244 seconds original speed) at 2 frames per minute. This is also just within the Lipo battery life too, so a full length movie would definitely need a mains adapter to power it. The small size is a bit of limitation, although larger screens increase the cost and complexity a lot, so I’m happy to call this a wrap.