When there’s a wedding coming up and the bride-to-be says she would like something, it’s only fair that everything is done for her wishes to come true. And if those wishes are for pink pom-poms, well, who am I to shy away from such a task!
I remember pom-poms being made when I was a very young child, and know that cardboard circles and lots of wrapping of wool was involved. I wasn’t sure if my memory from 35 years ago was accurate, so I checked with Google, and, sure enough, that’s still the preferred way of doing things. I couldn’t help but notice it looks very slow, tricky, inefficient and inconsistent. There had to be a better way! One of the Google results, however, was for a Pom Pom Tree. The approach was different, but this still looked awkward, and not really set up for mass production. So I went to Nottingham Hackspace to make thing better.
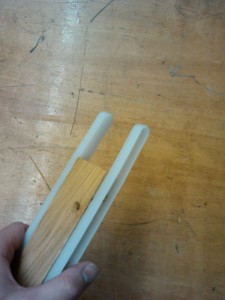
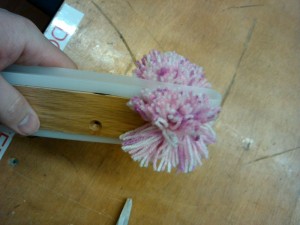
The solution I came up with was a piece of wood with 2 plastic drawer runners fixed to the side of it;
The wood was about 50mm wide with about 50mm of protruding runner. The exact dimensions aren’t critical though, but using this tool does ensure consistency. What is critical, however, is the channels down the drawer runners.
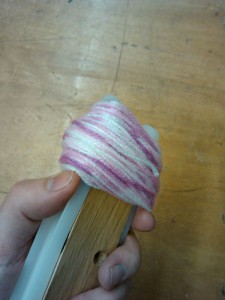
Start by wrapping wool around the ends of the runners. I found 150 laps for thin wool worked well and 100 laps for thicker stuff. There’s no need to pre-cut the wool, or faff about poking it through holes, simply wrap it around. Each one only takes a few seconds to wind.
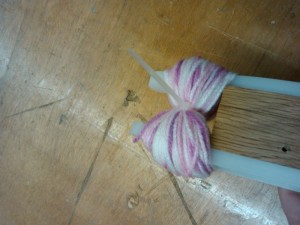
The next genius idea came in the form of cable ties. The first ones I tried tying wool around the centre, but this just wasn’t strong enough to get it nice and tight. But cable ties are! The tighter the better. (Then trim the excess tie off!).
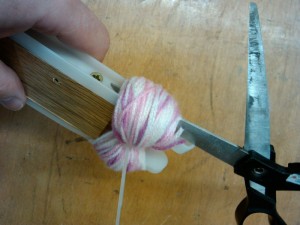
Slide some scissors down the channel in the drawer slider and cut the wool
Then repeat for the other side, remove and give it a little shake and you’ve got yourself a pom-pom!
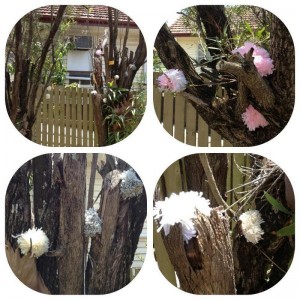
Keep on going until you’ve got a box load, then ship them off and wait for excited happy photos to come back. Simples!

