A while ago I started logging temperatures to Pachube via a Nanode. For the most part this works fine, but sometimes something breaks and I might lose a few hours or days worth of data. It might be the Nanode that's gone down, or Pachube, or (most likely) my Internet connection. So I decided to build a simple 3 stage external Watchdog Timer that would monitor the status of the feed and start taking steps to rectify it.
If you have seen my previous blog entry, you'll know I have been playing around with an ATtiny85 for an upcoming project (more on that later...). Using an Arduino (or, in my case a Xino from Ciseco) is easy enough, but when a sketch needs lots of tweaking to fine tune it, it means the ATtiny spends most of its time going in and out of the breadboard. So I decided to build a dedicated ATtiny programmer
As regular followers of the blog will know, I love Arduinos and all the stuff they can do. Those that know me will also know that I don't love Christmas, particularly the seasonal decoration stuff. So this project was a nice mix of the two!
I decided to make myself some Arduino powered Xmas lights that vary their 'chase' speed based upon how close people are to my house.
Intrigued? Read on...
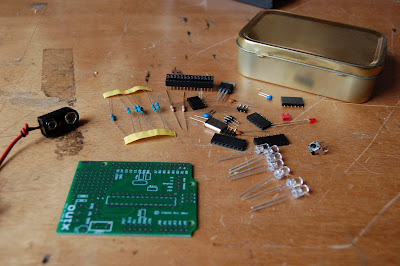
This week I... Built a Xino Basic for Atmel as sold on http://shop.ciseco.co.uk
This is sold as a kit that anyone with even the most basic of soldering skills can put together. This is just about the cheapest way to get an Arduino compatible board that fits the standard Arduino shields. It also boasts a nice little prototyping area at the top which will mean that a lot of smaller projects can be completed without the need for additional shields. (See my Xino Dice post for an example of how the prototyping area can be used)The main kit comprises of the PCB, processor socket, connector headers and some resistors, capacitors and an LED
I've been messing about with Arduino derived micro controllers, and have been looking for a way to get them to send simple messages to and from each other. Something simpler than TCP/IP (which requires special hardware and relatively large libraries to run it), but more generic and flexible than just connecting an output pin on one device to the input pin on another.
aProtocol (or LLAP as it's also known) as defined on OpenKontrol seems to fill that gap just nicely. So, in 16 lines of code, I got a simple acknowledgement working;
String msg;
String reply;
void setup() {
  Serial.begin(9600);
  Serial.print("aDDSTARTED--");
}
void loop(){
  if (Serial.available() >= 12){
    if (Serial.read() == 'a') {
      if (Serial.read() == 'D' && Serial.read() == 'D'){
        msg = "";
        for (byte i=0; i<9; i++) msg += Serial.read();
        if (msg.compareTo("HELLO----")) reply = "aDDHELLO----";
        // else if ...
        Serial.print(reply);
 } } } }
A couple of days ago I got a Xino board like this one. Not is this about the cheapest way to get an Ardunio compatible microprocessor, but it has the benefit of a nice little prototype area on board too. So, although it fits standard Arduino shields, many simple projects can be completed on just the one board.
I wanted to do something simple and nice with it, and with components and hardware I had to hand. I realised the prototype area would be great for mounting LEDs, and so the idea of a digital dice was born. I gathered a few bits and bobs and got the soldering iron out.

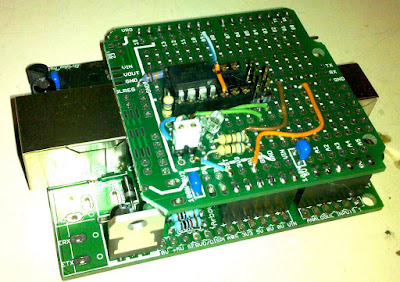
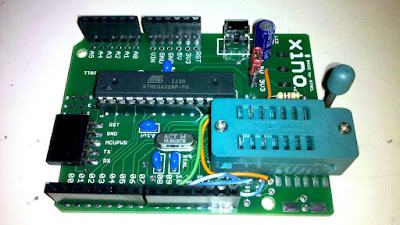

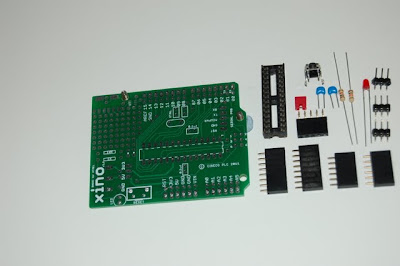
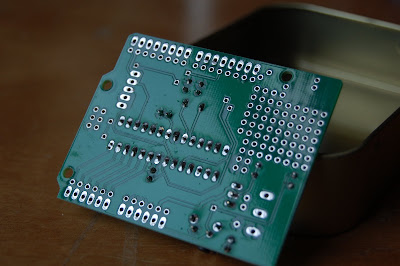 I wanted to do something simple and nice with it, and with components and hardware I had to hand. I realised the prototype area would be great for mounting LEDs, and so the idea of a digital dice was born. I gathered a few bits and bobs and got the soldering iron out.