Uncategorized (9)
Leatherwork Adventures
A while ago, YouTube started recommending some ASMR videos of leatherwork being done. Handbags, laptop cases, wallets etc. It was fascinating to watch a leather hide being turned in to wonderful objects through the skills, craftsmanship and obscure processes. Over time I began to recognise the individual steps involved and wondered how hard can this craft be? Luckily, YouTube also has a lot of tutorial videos too, and before I knew it, I ordered a starter kit of tools & fittings and some sample leather.

Closed keywallet 
Inside open keywallet 
keywallet standing up 
outside of open keywallet I was given a bag of leather offcuts by a friend which was great to get to grips with the various tools. The starter kit included a key wallet thingy. Whilst I'm not a fan of these kind of key rings, it was a good starter project. Templates are easy to find online, and over a few evenings, I put the key wallet above together. It is far from perfect. Mistakes were made. Things could and should be done better. But a lot was learned. And I was very happy for the results from my first leather project.
Custom Keyboard Rabbit Hole
Like many people, I had seen wild crazy looking mechanical keyboards, and had been both fascinated and confused by them. How could you get by with so few keys? What does each key actually do? They looked like some kind of wild alien input device, but, at the same time, must work well otherwise the fad would have died out years ago. The high cost and fear of failure, thought, was enough to put me off of trying them out.
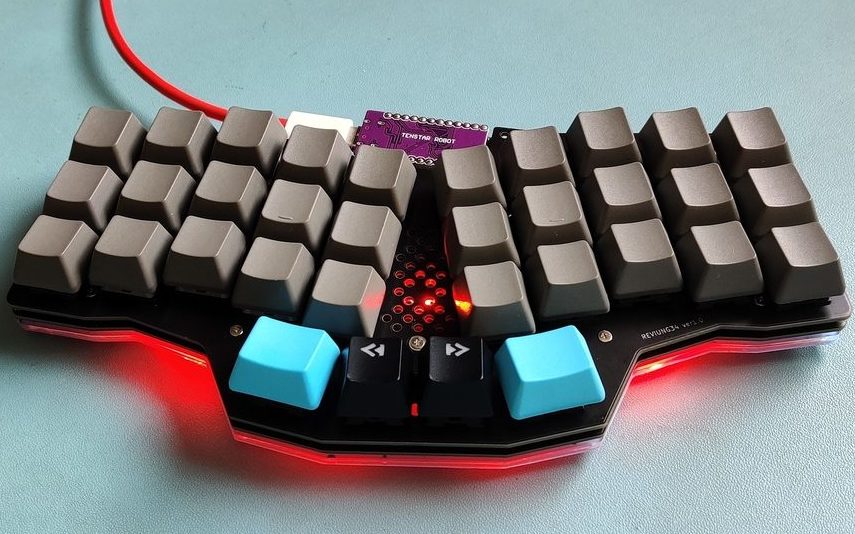
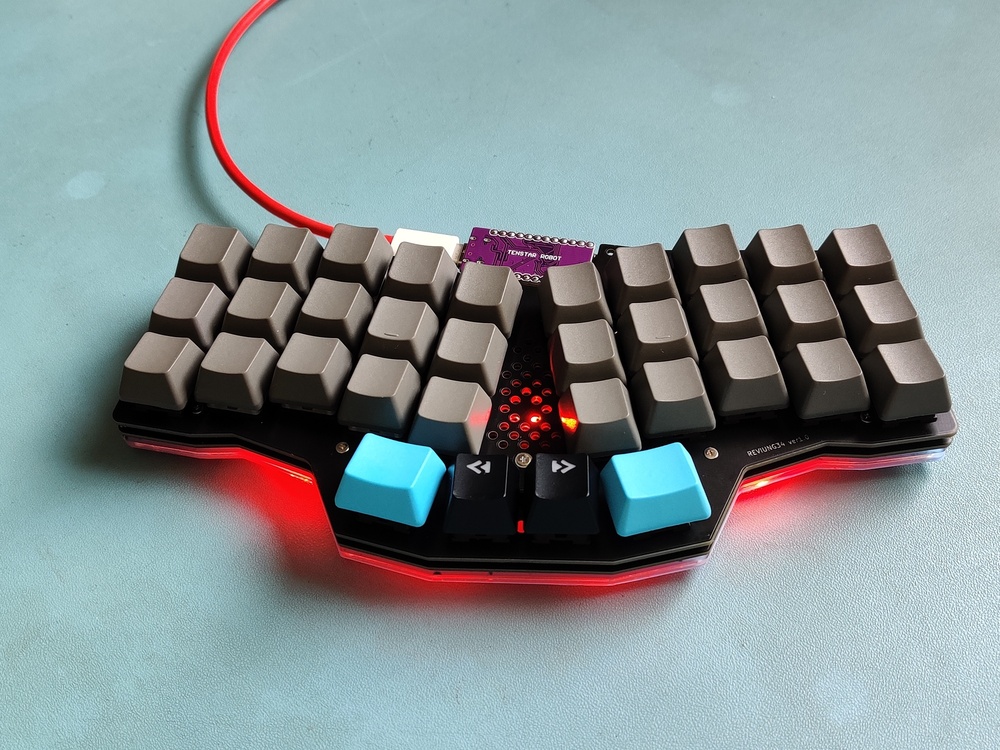
While attending OSHCamp earlier this year, a talk by Alan Wood explained a lot of the ideas behind these keyboards, and answered a lot of my questions - except for one; Would I be able to cope adjusting to one?
RC2014 SD Bootloader Update
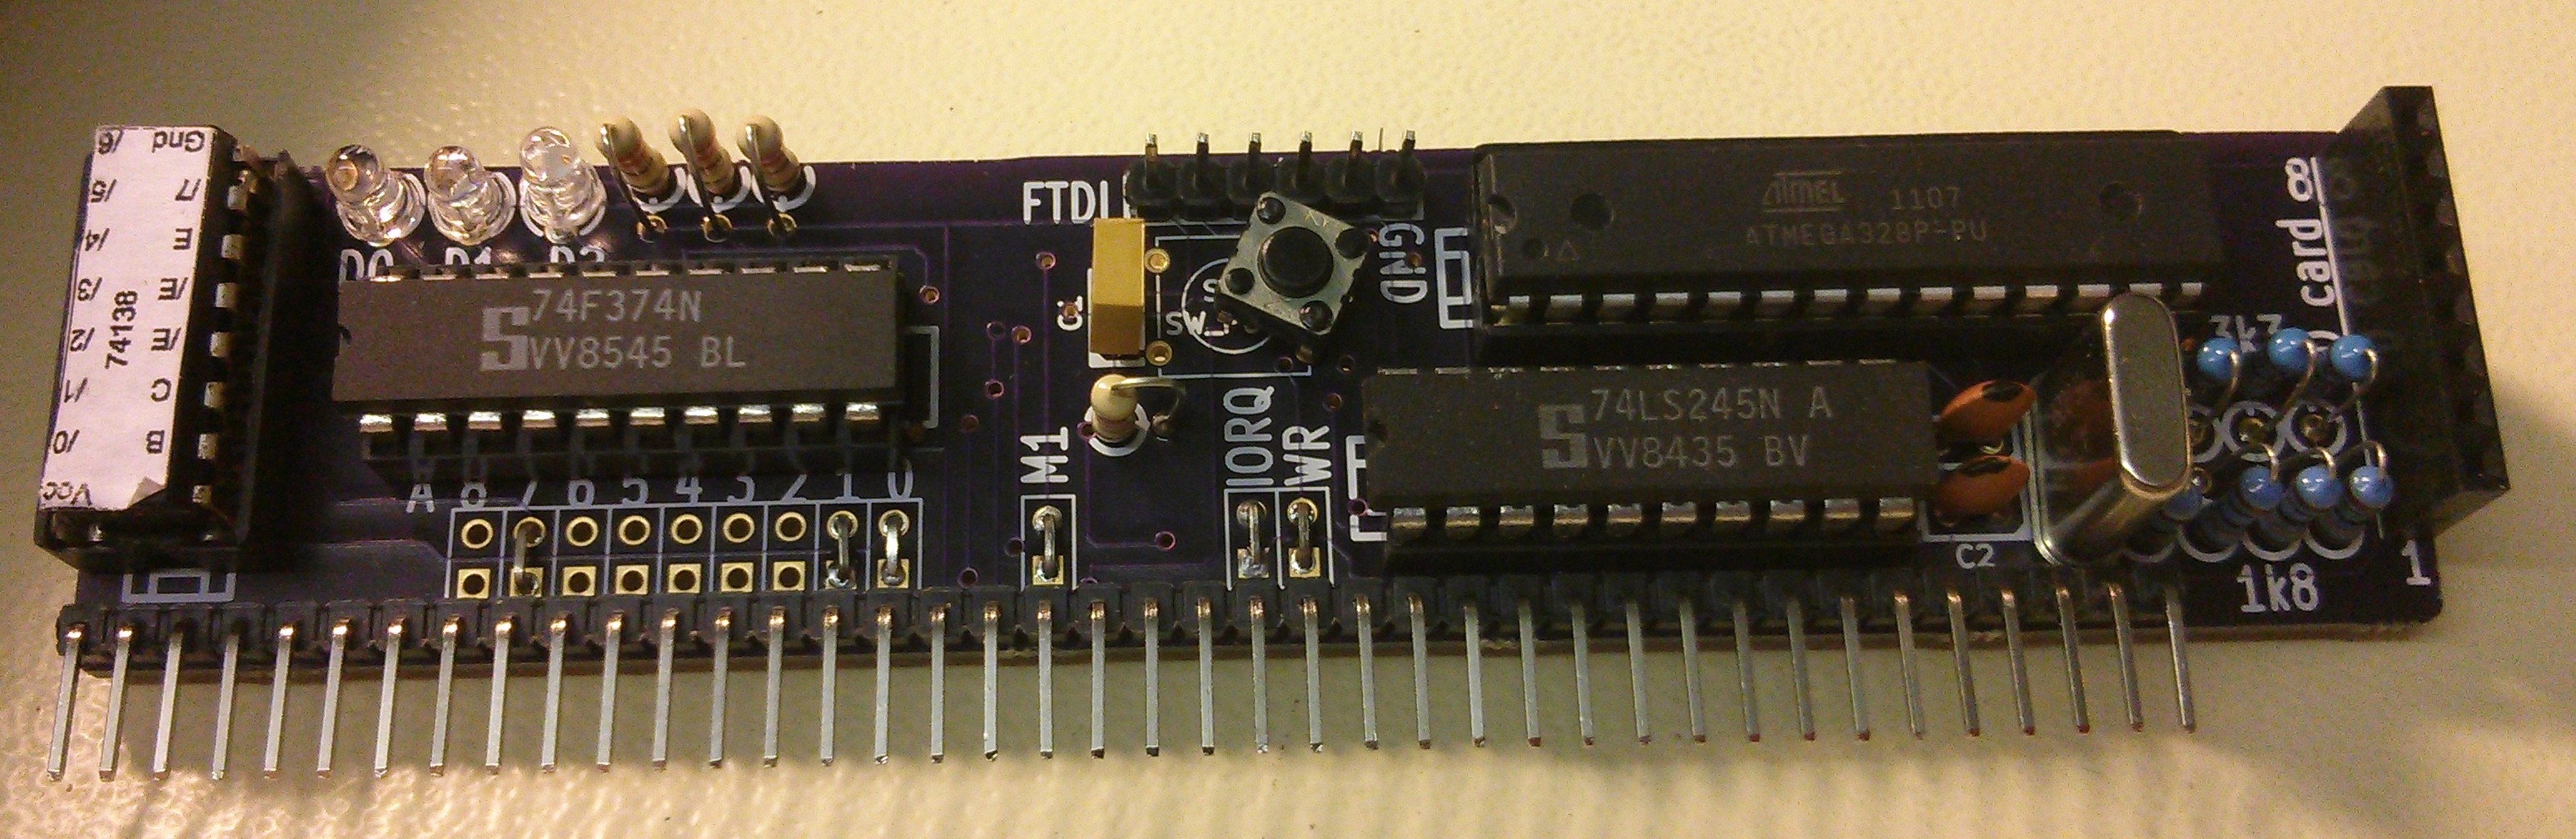
Just a quick update to about the SD Bootloader I designed a few posts ago. Well, the PCBs have arrived and last week I took a soldering iron to one of them and gave it a quick test
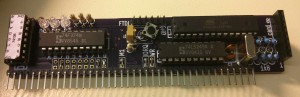
One side of the board is effectively an Arduino, so without plugging it in to the RC2014, I connected up an FTDI lead and uploaded the Arduino Blink sketch. A quick check with a multimeter and one of the pins was altenating between 5v and 0v. So far, all good!
Retro Challenge - Closing Thoughts
Wow! What an awesome month July has been. The whole Retro Challenge thing has been great, and despite moments of stress or despair, I have thoroughly enjoyed taking part and seeing what everyone else has been up to. Before I sum up my project, I should make a few honourable mentions.
Retro Challenge - A huge thanks to Mark and Wgoodf do a great job in hosting this twice a year. Keeping everyone updated via Twitter has worked really well. Cheers guys!
Grant Searle is responsible for the general Z80 design I used and also converted MS BASIC from the Nascom to run on this. Really, this project is a test of my understanding of Grants work and seeing how far I can take things.
Nottingham Hackspace has an amazing "parts bin" that included the LEDs, Veroboard, case, some of the logic chips and the RAM I used.
OSHPark did a great job (for a very good price!) on the PCBs - even if the postal system did keep me on the edge of my seat for a bit!
Chris Gammell introductions to KiCad PCB design videos were critical in guiding me through the various stages of board design.
Rodney Zaks book Programming the Z80 has been like a bible for me. Combined with a few dozen other resources of Z80 info on line I've been able to at least get the basics assembly language programming.
CLRHome is a great online Z80 IDE that can compile assembly language in a variety of output formats including for the ZX Spectrum. I doubt I could have managed this in notepad!
All of the other Retro Challenge entrants deserve a mention too, but there's a few that really caught my eye and taught me stuff about their particular approach to RC2014, such as Wgoodf - Turtles all the way down, Ians restoration of Northstar Horizon, Tezzas restoration and programming of Challenger 4P, John finishing work on Fahrfall
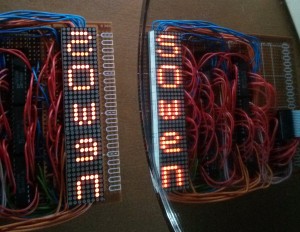
First steps with a Raspberry Pi
I missed out on the chance to order a Raspberry Pi on launch day by a few minutes. No worries though, I could wait. After…
£1 Logic Probe
A decent multimeter is great, but there's times when you just want to have a quick check to see what signals are high, low or neither. A logic probe is ideal for this, but the cheap ones are about £15+, so I decided to build my own. For less than a quid!
Monsal Trail Unicycle Ride
Last weekend 8 of us (John, Gary, Kate, James, Andy, Another Gary, Mark and myself) set off from Hassop Station and headed north on the…
The Blog That Cannot Fail
There are so many blogs around that start off with an enthusiastic first post telling the reader how they will regularly write articles about this, that or…